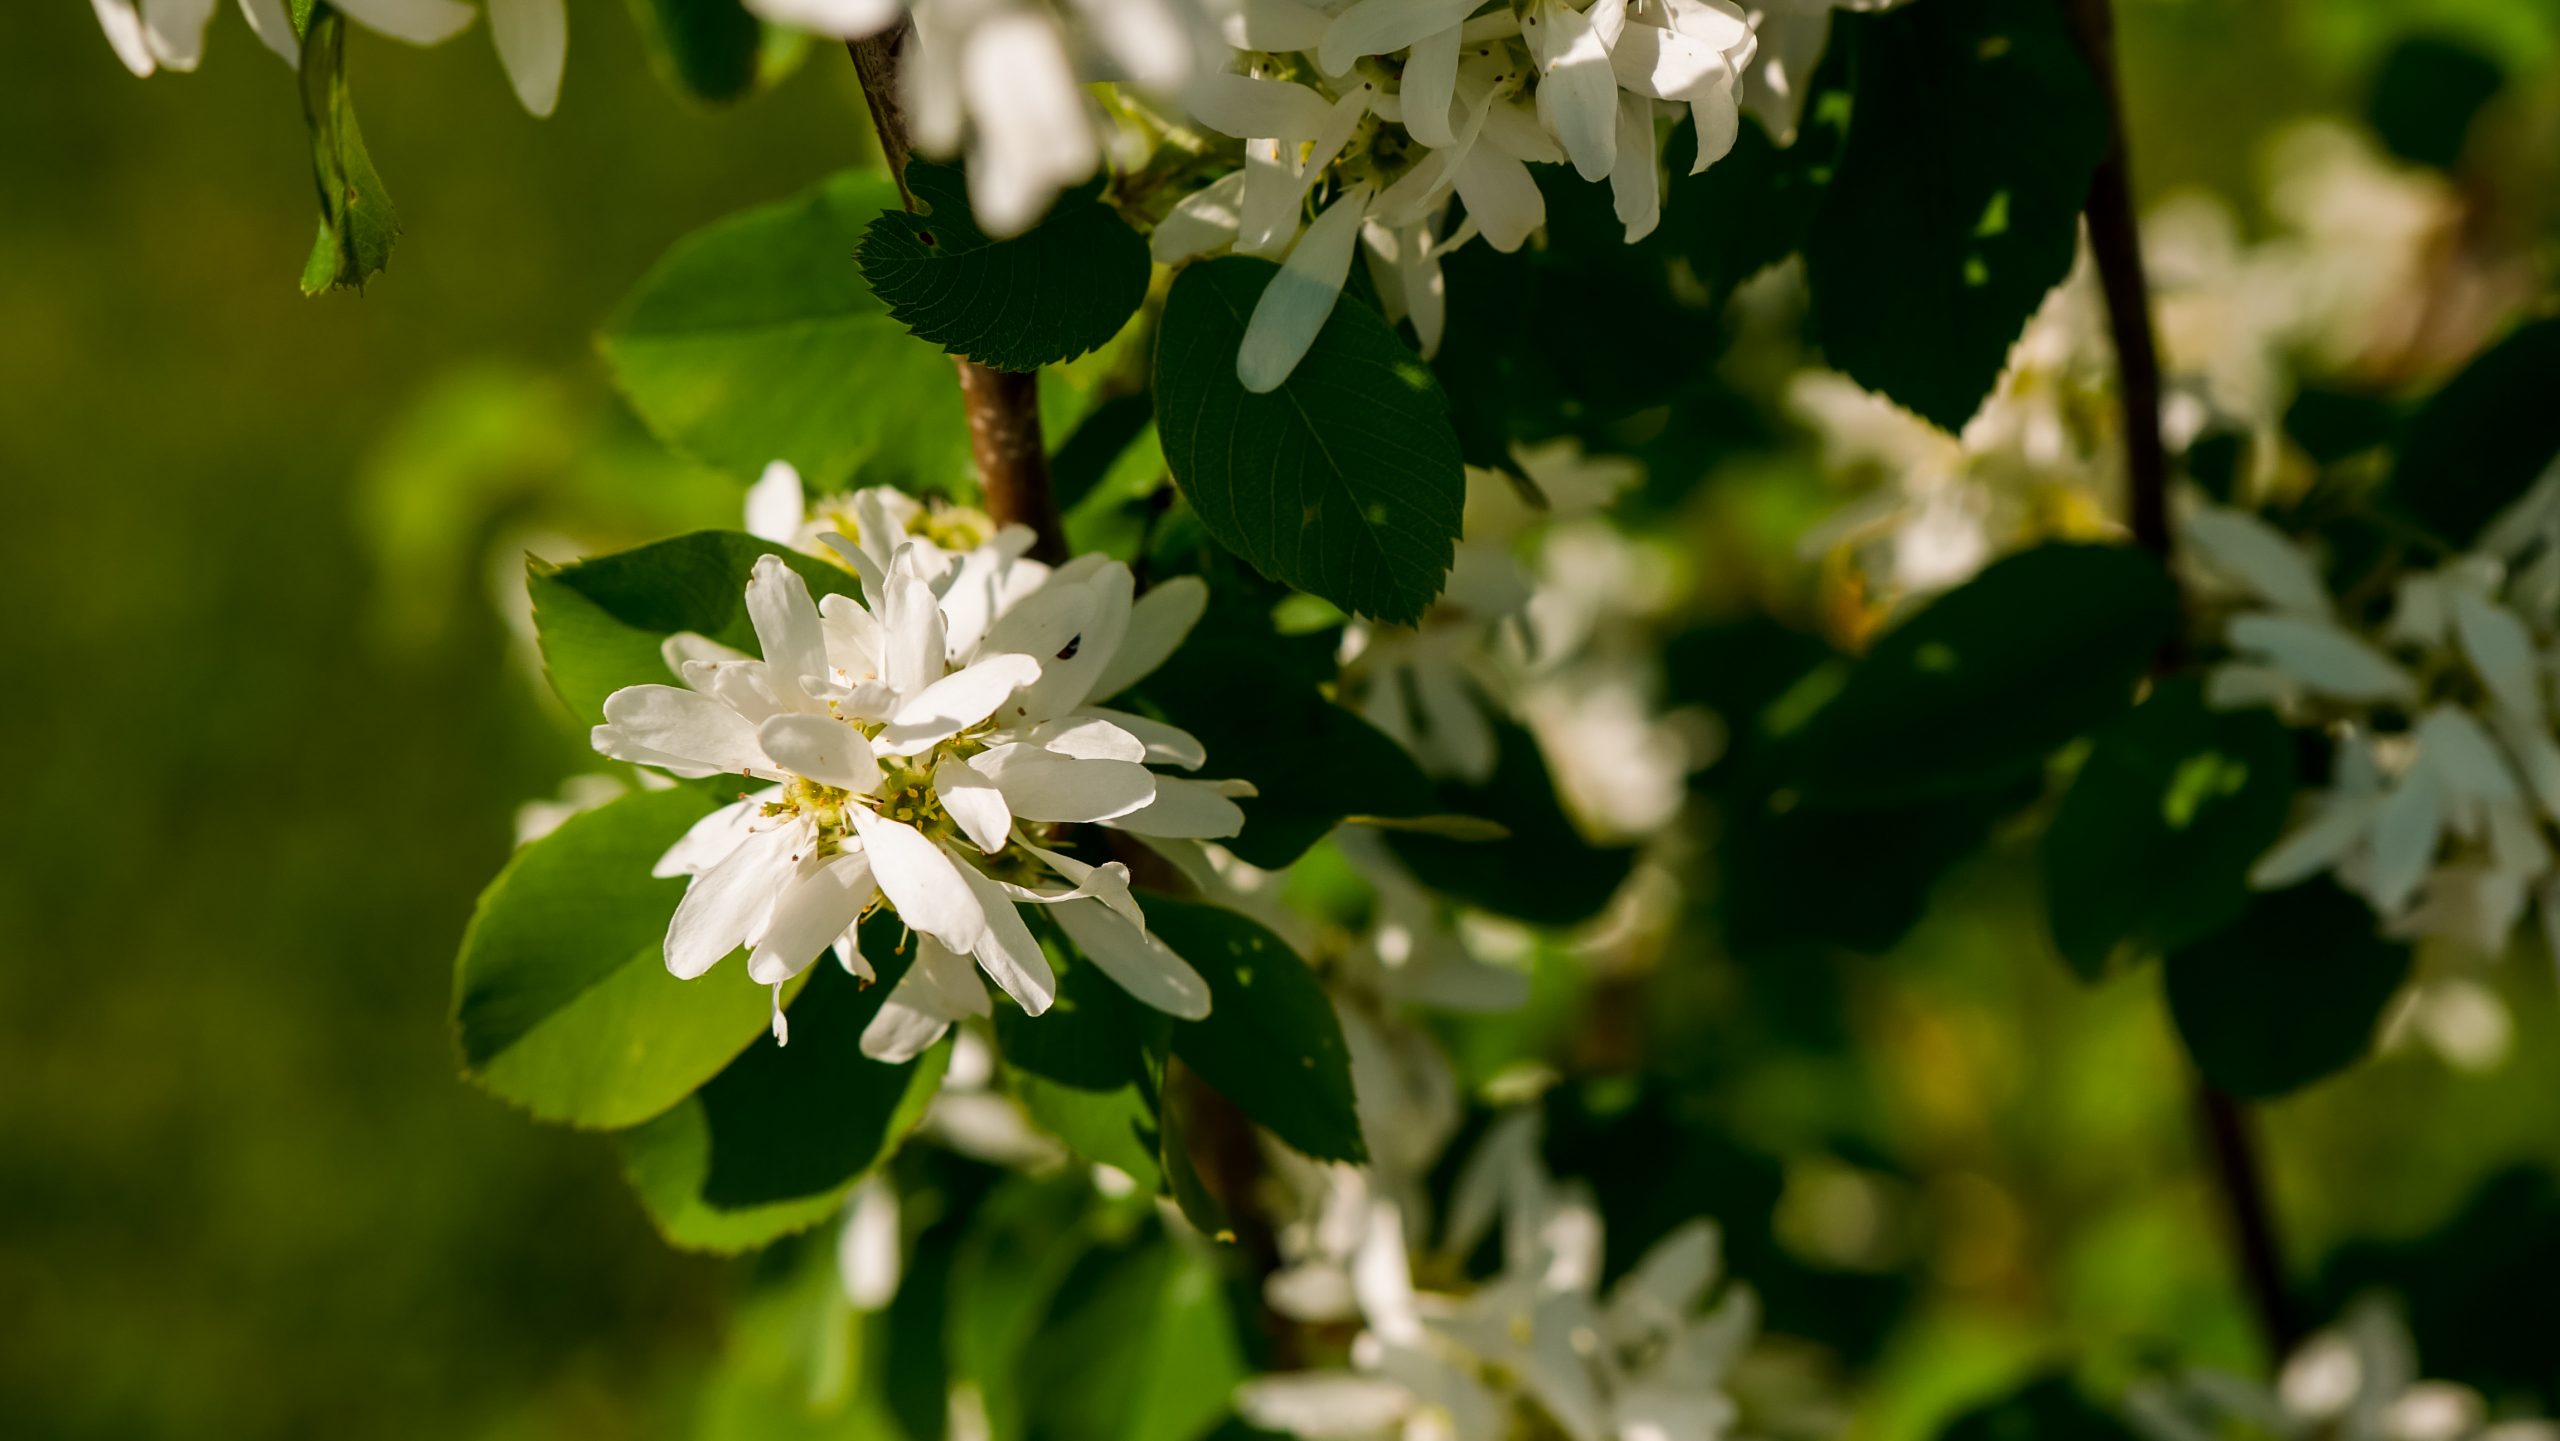
Sumac Lemonade
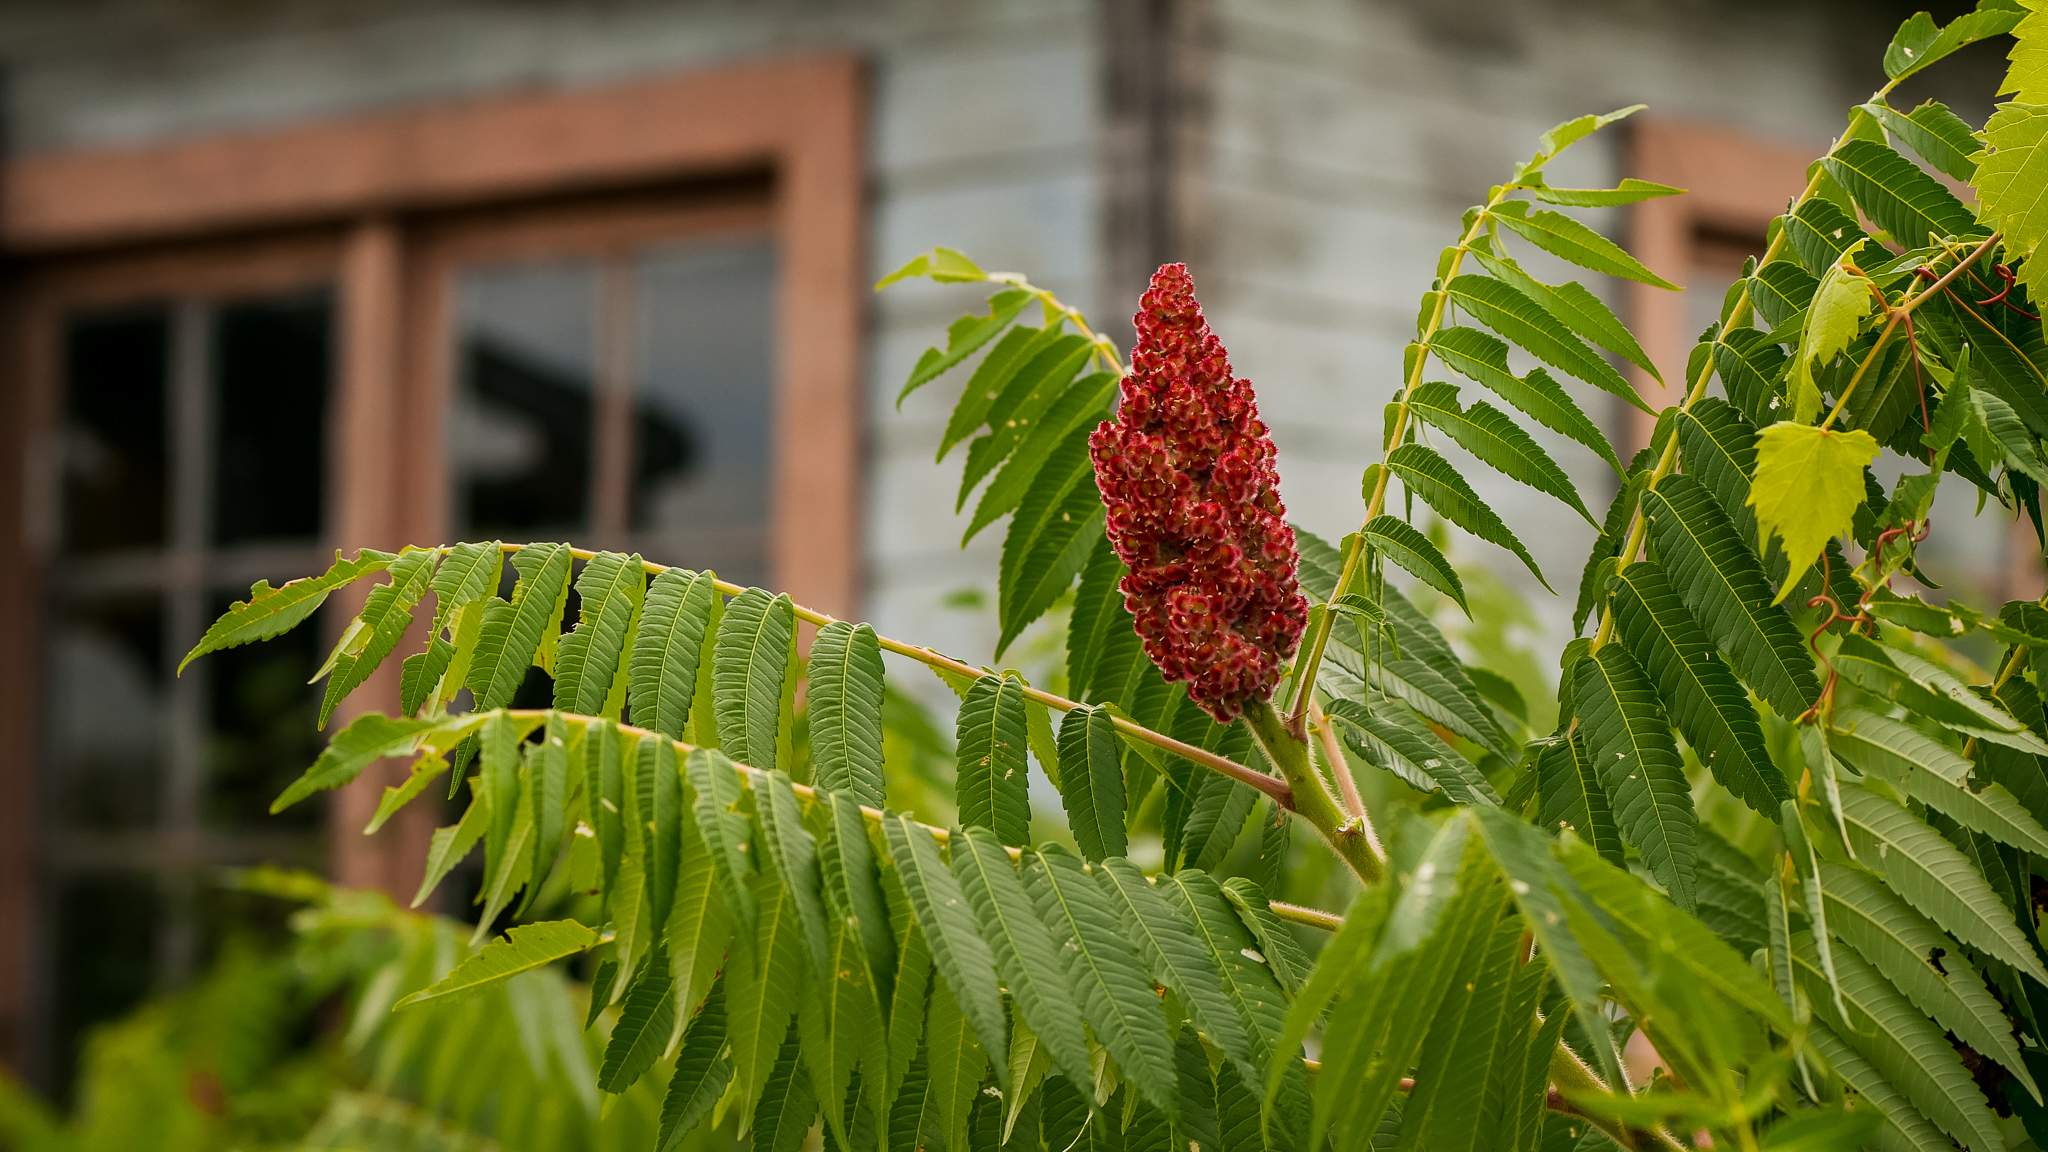
Staghorn Sumac Season is Here!
Dayna, Alexander (The Ginkgo Tree herbal apprentices) and I made this delicious lemonade and thought you might like to too!
Sumac Lemonade Recipe:
Ingredients:
- 1 cup staghorn sumac berries (~ 3 bunches)
- 1/2 cup sugar
- 1 lemon
- 4 cups water
- Mint for garnish
Directions:
- Pick berry bunches (do not rinse).
- Bring water to a boil, while removing berries from the bunches.
- Add berries to hot water, cover and steep for 15 minutes, then strain using coffee filter.
- Stir in sugar and lemon.
- Chill and serve with mint sprigs and lemon wedge.
Sumac’s Medicinal Uses
- Antioxidant (prevents or inhibits oxidation)
- High in vitamin C
- North American Indigenous peoples used Staghorn Sumac for sore throats, colds, diarrhea and scurvy. It has also been used for cold sores and asthma.

How to Make an Infused Oil & Salve
A Simple Natural Way to Use Herbs Topically For You and Your Family
Kitchen Medicine Making is ideal for minor first aid needs such as; scrapes, rashes, cuts, bruises, inflammation, aching joints and more… Making your own homemade oils/salves/ointments is an amazing addition to your home remedy cabinet. They are very economical and last a reasonably long time and are so simple to make. Once you know how, and what plants to use, you will be making them for everyone! DIY can be so addictive! For me simplicity is always the answer. The following recipes are easy and fun to create.
Infused Oils
Infusing oils allows the plants essence and therapeutic benefits to be drawn into an oil that can be applied to the body externally. They store for long periods of time and are fun and economical to make.
What oil should I use?
There are many pressed oils that will work quite nicely! (Expensive cold pressed oils will be wasted on the heating method)
- Olive oil – inexpensive, nourishing, and good for those with nut/seed allergies. It does have a stronger scent, but is my personal favourite for medicinal ointments.
- Sunflower oil – inexpensive and neutral in scent.
- Almond oil – excellent for dry and sensitive skins, light scent. A more expensive choice.
- Grapeseed oil – best for oily skins as it is light and easily absorbed. A more expensive choice.
What herbs should I use?
Here is a short list of some great herbs to try out for the first time. It is such an amazing feeling to go outside and pick fresh plants for your oil. The trick here is to let your herbs wilt first before adding to the oil. Wilting allows some of the water content to dissipate, preventing your oil from going “off” – rancid or moldy.
- Calendula petals (Calendula officinalis) – Infuses the oil with a beautiful golden orange colour. Amazing for all types of skin healing, a mild anti-microbial.
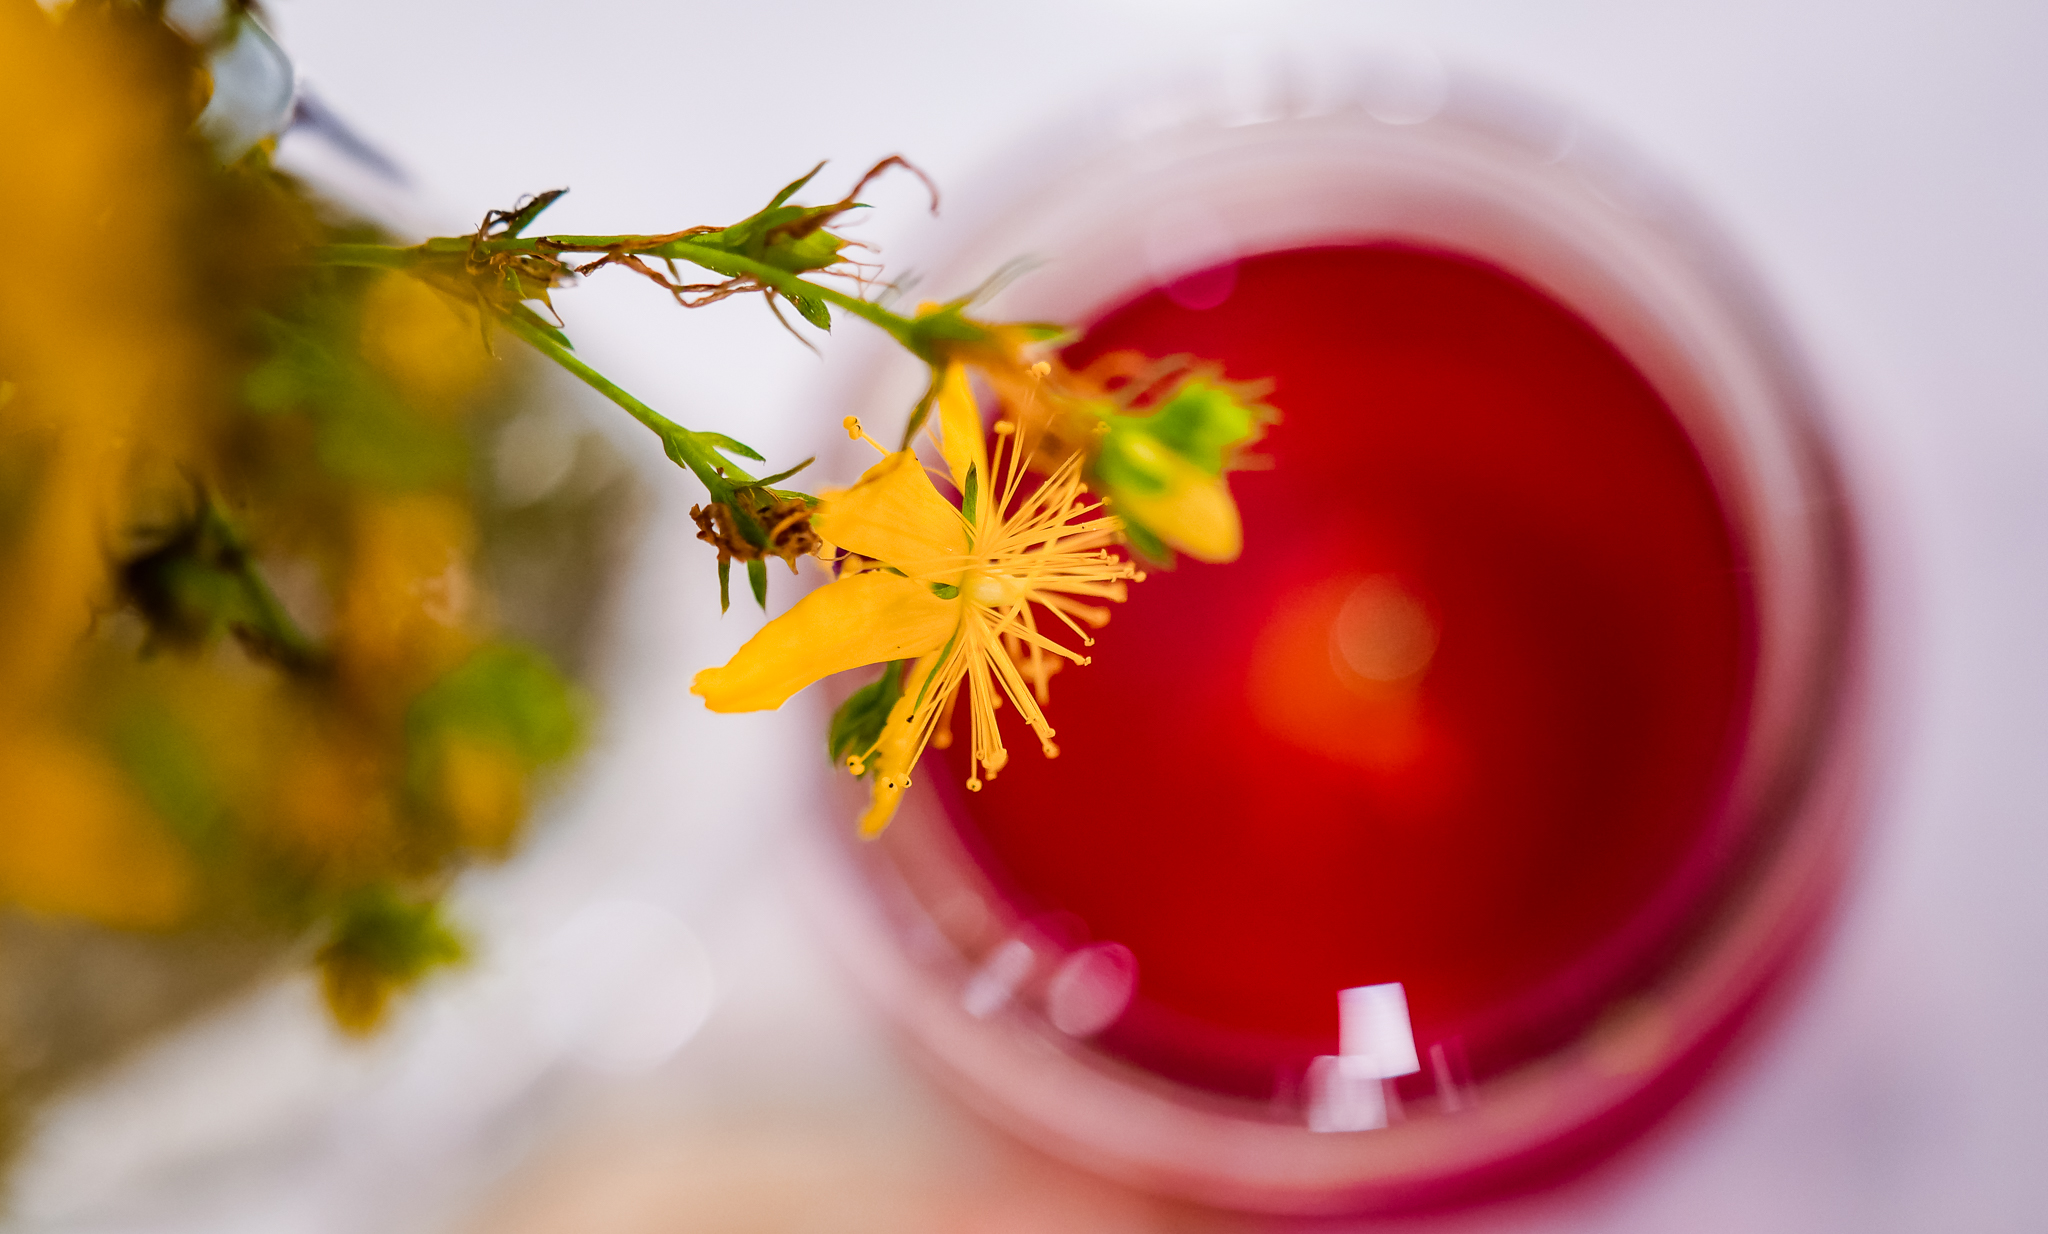
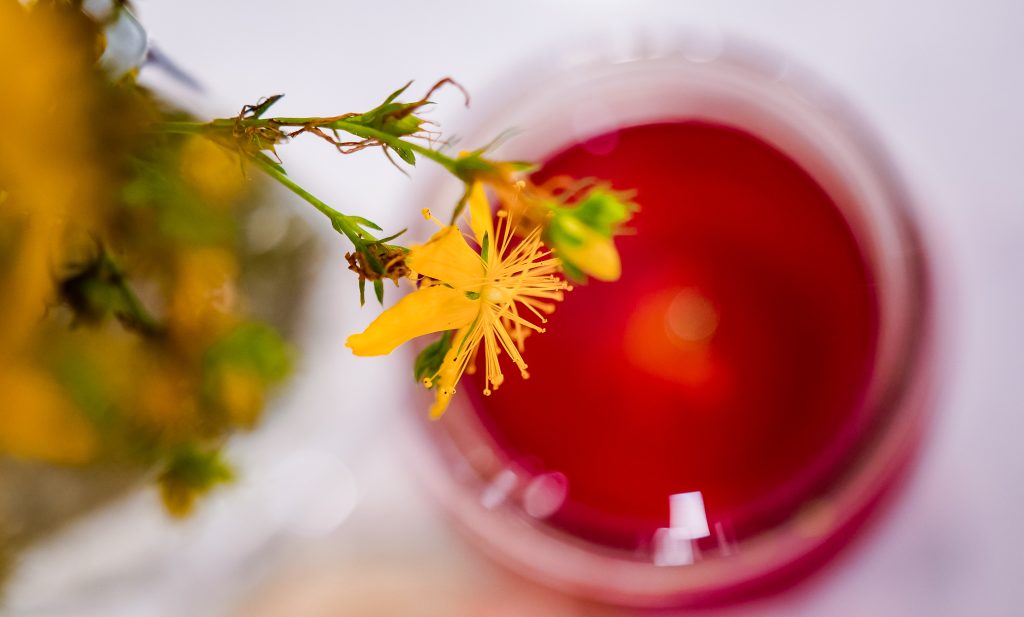
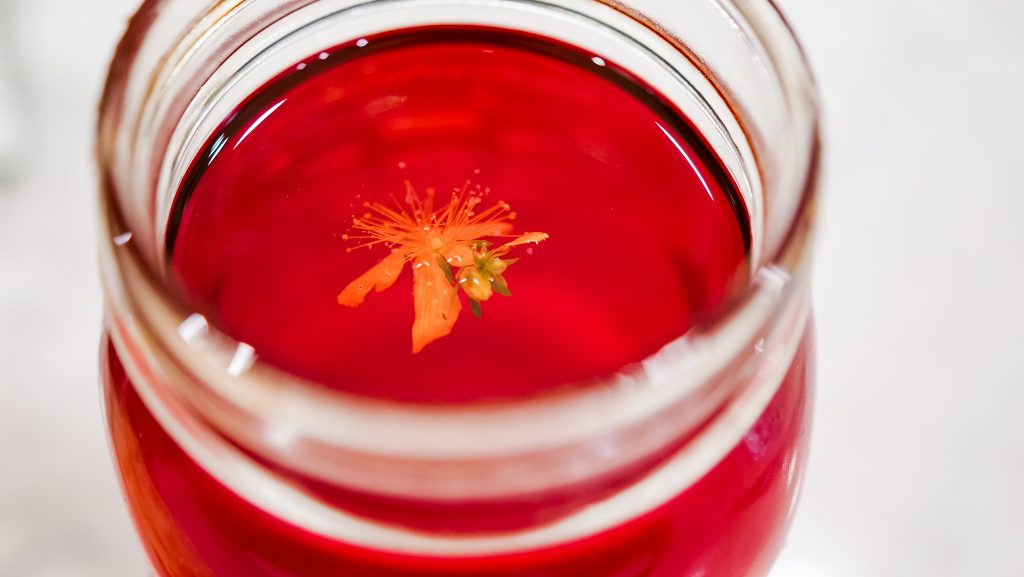
- St. John’s Wort flower (Hypericum perforatum) – Infuses the oil an amazing red colour. This oil has great success with nerve pain and aching joints. It is also an excellent remedy for the pain and scar reduction of minor burns. It is also anti-viral.
- Rose petals (Rosa spp.) – Pink and deliciously scented, great for cosmetic use and for calming & relaxing remedies.
- Comfrey (Symphytum officinale L.) – Sometimes called knitbone, this amazing green salve has been used traditionally to support superficial wounds, breaks, sprains, bruises, sprains & strains.
- Chickweed (Stellaria media) – Another lovely green salve which offers soothing relief to hot rashes, bug bites, wounds, diaper rash or any type of itchy skin condition.
- Plantain (Plantago) – This healing green salve aids in stings, bug bites, minor wounds, scratches, rashes and dry, irritated skin.
- Goldenrod (Solidago) – Is used topically for muscle cramps and sore muscles. Bonus: can be use to make salad dressing.
How do I infuse my Oil?
Traditional Sun method: my favourite!
This is such a simple way to make your oil! It is also the oldest and highest regarded way to make your infused oil. Simply fill a clear, wide mouthed jar ½ to ¾ with chopped herb, then top with oil. Shake gently to be rid of any air bubbles and ensure all herbs are covered with oil. Steep in sunny window or outside in the full sun, for approximate four – six weeks, shaking gently each day. Strain and pour into a sterilized storage jar and keep in a cool dark cupboard. Don’t forget to label and date!
Note: There are also Quick Pan and Slow Cooker methods if the infused oil is required quicker.
How Do I Make a Salve/Ointment?
Once you have your beautiful solar infused oil you are ready to make your salve… Now this is the magical part!
Take one cup of your infused oil and ¼ cup of beeswax; add to a stainless steel pot and place on burner. Heat low and slow until all the beeswax has melted. Test consistency of salve by taking a spoon full and placing in the freezer for ~5 min. If salve is too hard you can simply add a titch more infused oil to the pan, if too soft simply add a titch more beeswax to pan and melt. Your salve is now ready to pour into sterilized jars and let cool.
Voila! You have made your first salve – Whoot! Whoot!
Photos provided by Serena Mor
Pat’s Top Ten Super Foods & Herbs
What is a Super Food?
I’m sure we’d all like to think of a ‘magic bullet’ that could take care of all our health issues, which is why the title of this article is appealing: eat these foods or herbs and you will be well.
The fact is, all whole, organic, unprocessed foods are super foods. If we eat a variety of brightly coloured fruits and vegetables along with whole grains, nuts, seeds, legumes, coldwater fish and herbs and give chemicals and processed or fast foods a wide berth, we will feel better, have more energy and will maintain a healthy body weight.
Still, it is handy to have a short list of must-have foods and herbs that we know we can turn to for essential nutrients and maximum health benefits. My list boasts foods that have been proven to offer vital phytonutrients for helping to ease the following health benefits:
- Lower or help regulate blood sugar levels
- Help regulate metabolism and burn body fat
- Help protect the heart
- Help prevent cancer
- Detoxify vital organs
- Lower blood pressure
- Prevent or reduce inflammation
- Aid digestion
Pat’s Top Ten
It is known that the everyday choices we make have long-term effects on our health, and in order to begin to see the benefits listed above, you will need to include the following foods in your daily eating pattern. It’s time to ‘spring clean’ your diet by eliminating harmful high fat, low nutrient foods and replacing them with super foods everyday:
- Cruciferous vegetables
- Dark-skinned berries
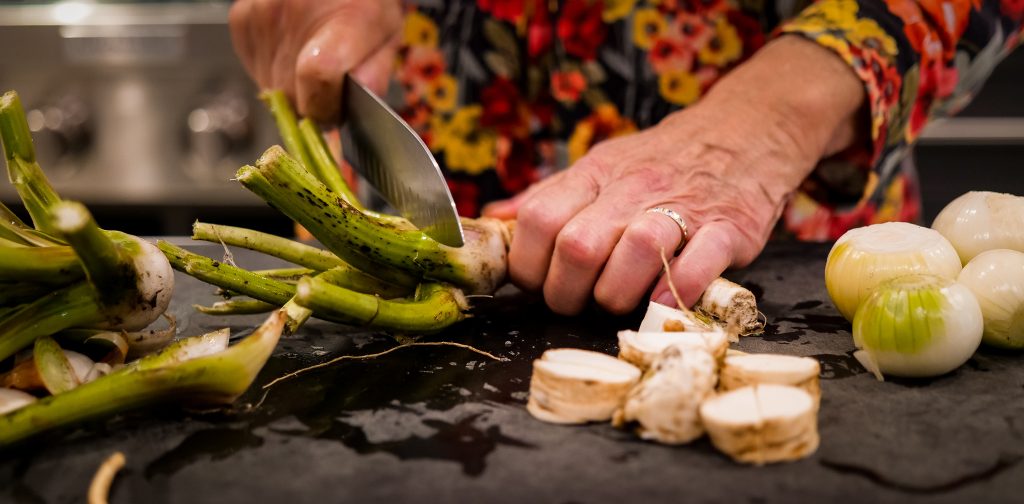
- Alliums
- Herbs and spices
- Fatty fish
- Nuts
- Legumes
- Dark chocolate
- Seaweed
- Seeds
Super Food Breakdown and Recipes
Cruciferous Vegetables
Brussels sprouts, cabbage, cauliflower, broccoli rabe – contain a powerful range of disease fighters. Their Endoles and sulforaphane may increase enzymes that lower the incidence of colon and lung cancers.
My Advice: eat these foods raw and at least three times per week, everyday is ideal.
Asparagus and Cauliflower Salad Recipe:
Ingredients:
- 1 tablespoon avocado or olive oil
- 1 onion, chopped
- 2 cloves garlic, chopped
- 2 tablespoons Herb Seasoning Paste or Spring Pesto (recipes below)
- 2 cups fresh asparagus pieces
- 1 cup thinly sliced cauliflower
- ½ cup shredded carrots
- ¼ cup raisins or chopped dates
- 1 tablespoon sea salt and freshly ground pepper
- 1 cup, lightly packed baby spinach, lightly steamed
Method:
1. In a wok or skillet, heat oil over medium-high heat. Add onion and cook, stirring frequently for 5 minutes or until soft and lightly colored. Add garlic and paste and cook, stirring constantly for 1 minute. Add asparagus and cauliflower and mix well to coat with onions and spices. Cook, stirring constantly for 3 to 5 minutes or until vegetables are crisp-tender.
2. Remove from heat and stir in carrots and dates. Season to taste with salt and pepper. Serve warm over spinach.
Makes 4 to 6 servings
Dark Skinned Berries
Blueberries, blackberries, acai berries – their high concentrations of anthocyanins and phenolic pigments (which make them dark blue, red or purple in colour) give them exceptional antioxidant, anti-diabetic and heart protective properties.
My Advice: include raw (fresh or frozen) dark-skinned berries at least once daily in meals.
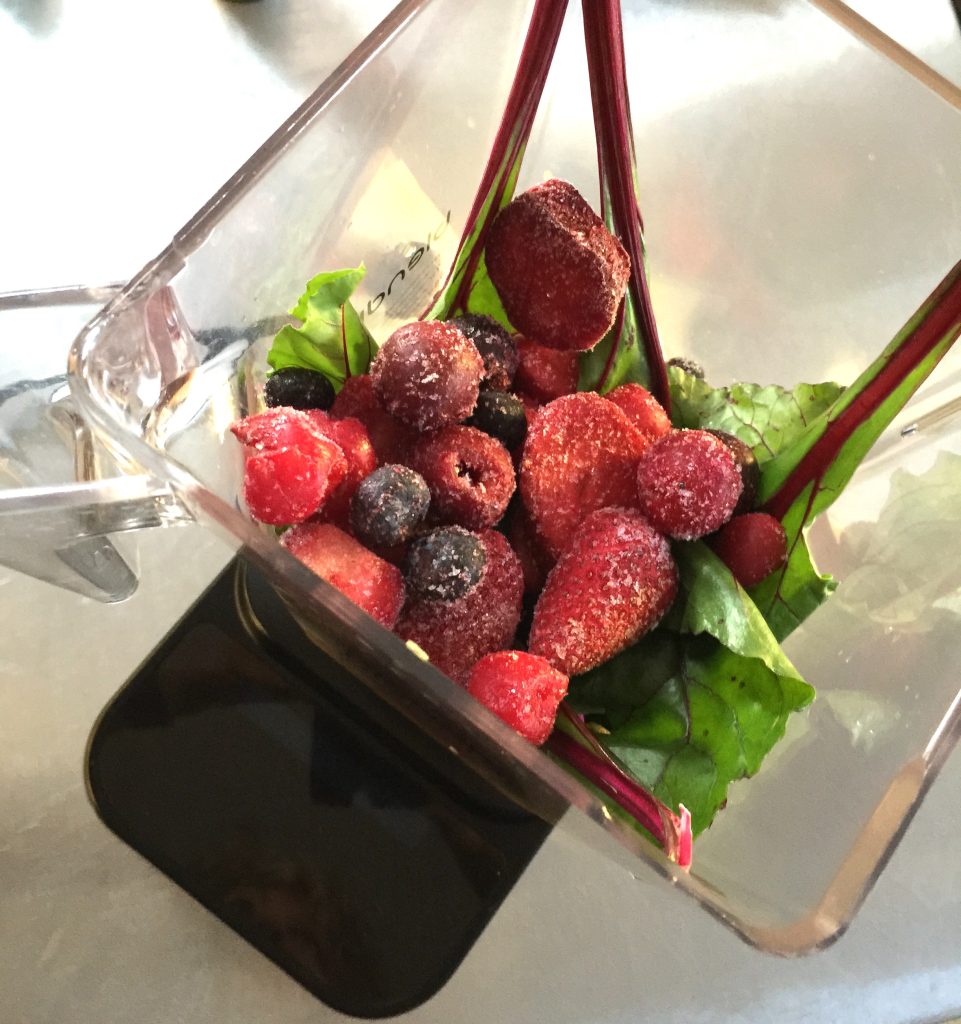
Black Berry Smoothie Recipe:
Ingredients:
- ½ cup pomegranate juice
- 1 tablespoon avocado oil
- ½ cup fresh or frozen blueberries
- ½ cup fresh or frozen blackberries
- ¼ cup frozen acai berries or raspberries
- 4 beet top leaves or spinach
- 1 tablespoon chia seeds
- ¼ teaspoon ground cinnamon
Method:
1. In a blender, combine juice, oil, blueberries, blackberries, acai berries, green leaves and chia seeds. Blend on high until smooth. Pour into 2 glasses and garnish each with cinnamon.
Makes 2 servings
Alliums
Leeks, garlic, onions, shallots. With garlic the hero of the bunch, alliums help to protect against prostate, stomach and colon cancer; lower blood pressure, blood sugar and cholesterol levels; and are antibacterial along with other benefits.
My Advice: eat raw garlic once a day and include one other allium in a daily meal.
Leek, Garlic and Onion Tart Recipe:
Ingredients:
10-inch (3 L) spring form pan or round tart pan, lightly oiled
Potato Base:
- 3 cups thinly sliced, potatoes
- 1 cup thinly sliced, peeled sweet potato
- 3 tablespoons honey mustard
- 2 tablespoons olive oil
- 1/2 teaspoon salt
- Freshly ground pepper
Topping:
- 1/4 cup sliced leek, white and tender green parts
- 4 cloves garlic, slivered
- 3 cups thinly sliced onions (about 3 onions)
- 3 tablespoons Herb Seasoning Paste or Spring Pesto (recipes below)
- 1/4 cup freshly grated Parmesan cheese
Method:
Preheat oven to 375°F (190°C)
1. Potato Base: In a large bowl, toss potatoes with mustard and oil. Spread in bottom of prepared pan. Press potatoes with the back of a spoon to compress. Sprinkle salt and pepper over top.
2. Topping: In the bowl used for the potatoes, toss leek, garlic, and onions with Herb Paste. Spread evenly over potato base. Bake in preheated oven for 40 minutes or until potatoes are tender and onions are golden. Sprinkle Parmesan over top and bake for another 3 minutes or until cheese is lightly browned. Transfer to a cooling rack and let stand for 10 minutes before serving.
Makes 4 to 6 servings
Herbs and Spices
Thyme, rosemary, turmeric, ginger, cayenne, cinnamon – most fresh green herbs contain antioxidant properties along with other healing benefits specific to the herb; dandelion and burdock leaves are cleansing; spices such as cinnamon, cloves, and nutmeg contain powerful phytonutrients that regulate and affect body functions.
My Advice: eat fresh green herbs with 2 meals each day and cook with fresh ground spices (season dishes with 1 tablespoon Spring Pesto, below) every day.
Herb Seasoning Paste Recipe:
Ingredients:
- 1 cinnamon stick (2-inches), crushed
- 1 tablespoon whole yellow or brown mustard seeds
- 1 tablespoon whole coriander seeds
- 2 dried cayenne peppers, cut into pieces
- ¼ cup chopped fresh green herbs (thyme, oregano, dandelion, parsley or burdock leaves)
- 2 cloves garlic
- 1 piece (1-inch) fresh ginger, peeled
- 1 teaspoon ground nutmeg
- 1 tablespoon avocado or olive oil
- 1 tablespoon brown rice syrup
Method:
1. In a spice grinder or mortar (using pestle) chop or pound cinnamon, mustard, coriander and peppers until consistently ground (fine or coarse as desired). Add garlic and ginger and blend or pound to a thick paste. Add nutmeg, oil and rice syrup and mix until well blended and smooth. Transfer to a small jar. Label and store in the refrigerator for up to 2 weeks.
Makes 1/2 cup
Fatty Fishes
Wild salmon and sardines are one of the best sources of omega 3 fatty acids. Avoid farmed fish because wild-caught fish eat krill and other wild foods that contribute to the quality of their flesh; they are lower in mercury and high in vitamin D and have not been fed grain and antibiotics.
My Advice: eat fatty fish twice a week.
Braised Salmon and Kale with Red Lentils Recipe:
Ingredients:
- 1 tablespoon avocado or olive oil
- 1 small red onion, chopped
- 1 tablespoon Herb Seasoning Paste (recipe above) or Spring Pesto (recipe below)
- 2 cups chopped kale (still wet from washing)
- 4 wild salmon fillets (4 oz/125 g each), skin on one side
- 1 can (19 oz/540 mL) red lentils rinsed and drained
Method:
1. In a skillet or wok, heat oil over medium-high heat. Add onion and seasoning paste and cook, stirring frequently for 5 minutes or until onions are soft and lightly coloured. Add kale and toss to coat with onions. Place salmon over top, skin side up. Cover, reduce heat to low and cook for 10 to 15 minutes or until salmon is opaque and flakes easily with a fork. Remove skin from salmon and remove fillets to a platter. Toss lentils with kale mixture and heat through.
Makes 4 servings
Nuts
All nuts, especially walnuts and almonds are great sources of antioxidants, vitamin E, selenium and magnesium, and of all nuts, walnuts are highest in alpha-linolenic omega-3 fatty acids, which lower LDL (bad) cholesterol.
My Advice: eat a handful of nuts every day to help reduce the risk of heart disease.
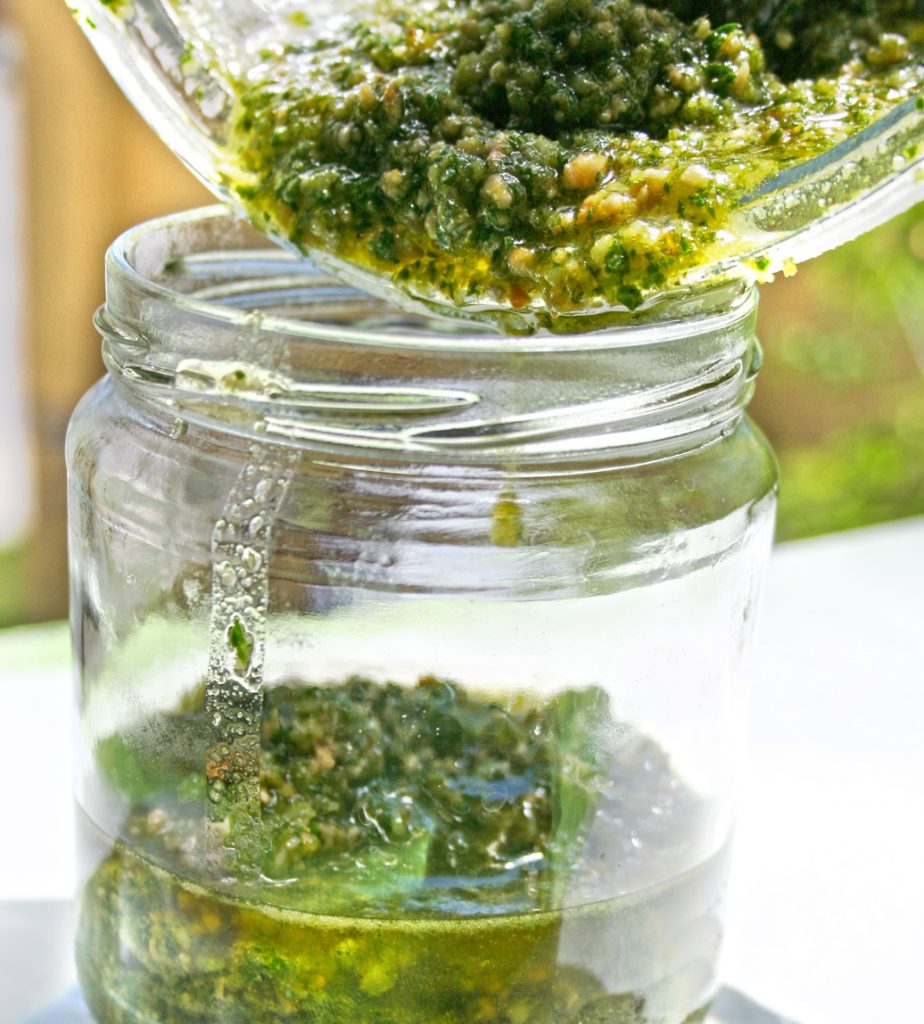
Spring Pesto Recipe:
Ingredients:
- ¼ cup walnuts or almonds
- 2 tablespoons sesame or flax seeds
- 4 cloves garlic
- 1 cup chopped fresh dandelion leaves
- 1 cup fresh parsley
- 2 tablespoons fresh rosemary or thyme
- ¼ cup grated Parmesan cheese
- 1 cup olive oil
- sea salt
Method:
1. In a blender or food processor, chop walnuts, flax seeds and garlic. Add dandelion, parsley and rosemary and start motor. Add olive oil slowly through opening in feed tube and process until pesto is desired consistency. Season to taste.
Makes 2 cups
Legumes
Dried peas, beans, lentils – a good plant protein; high in fiber, associated with lower risks of heart disease, diabetes, obesity and cancer.
My Advice: eat legumes three times per week, more often if you are vegetarian/vegan.
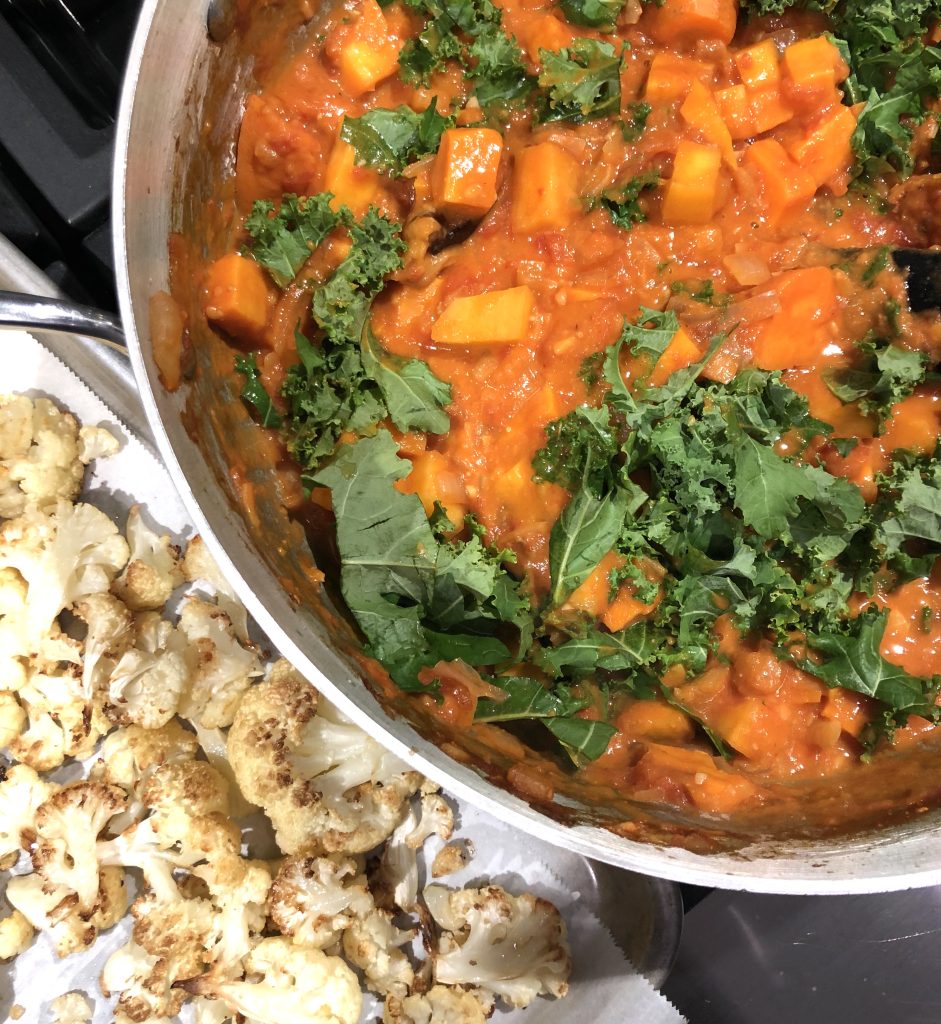
Ancho Chocolate and Sweet Potato Stew Recipe:
Ingredients:
Chile Seasoning:
- 3 dried ancho chiles (or 1 teaspoon chili powder)
- 1 tablespoon chopped fresh oregano
- 1 teaspoon ground cumin
- 1/2 teaspoon ground cinnamon
- 2 teaspoons sea salt
Stew:
- ½ head cauliflower, trimmed and cut into ¼-inch pieces
- 4 tablespoons avocado oil, divided
- 1 red onion, chopped
- 4 cloves garlic, chopped
- 1 sweet potato, trimmed and cut into large dice
- ½ rutabaga, trimmed and cut into small dice
- 2 carrots, coarsely chopped
- 1 can (28 oz /796 mL) diced tomatoes and juice
- 1 stick (2-inch) cinnamon
- 2 cups vegan stock or water
- 1 oz (30 g) unsweetened dark chocolate, grated
- 1 can (14 oz/398 mL) pinto beans, drained
- 2 cups coarsely chopped kale, spinach or Swiss chard
Method:
1. Make Chile Seasoning: slice chilies in half lengthwise and remove stems and seeds. Toast chilies: heat a small dry skillet over medium heat. Add chilies, pressing down with tongs for 1 minute, turning over and toasting for 30 seconds on other side. Let cool and slice into 4 pieces. Pulse in a spice grinder until finely ground. Transfer to a small bowl and stir in oregano, cumin, cinnamon and salt.
2. Preheat oven to 375 F and line a rimmed baking sheet with parchment paper. Arrange cauliflower in a single layer on the sheet and drizzle with 2 tablespoons of oil. Bake in preheated oven for about 30 minutes or until lightly browned and crisp-tender. Remove from oven and set aside.
3. Meanwhile, heat remaining oil in a large soup pot over medium heat. Add onion and cook, stirring frequently for 5 minutes. Add garlic and Chile Seasoning and cook, stirring frequently for a minute or two.
4. Stir in sweet potato, rutabaga, carrots, tomatoes and their juice, and cinnamon stick. Bring to a boil and cook, stirring occasionally for about 6 minutes or until the mixture is thickened slightly.
5. Add stock, increase heat to high and bring to a boil. Lower heat and simmer, covered for about 30 minutes or until vegetables are crisp-tender.
6. Add chocolate and stir until it is melted into the mixture. Stir in cauliflower, beans and kale and simmer until heated through, about 3 minutes.
Ladle into 6 serving bowls.
Dark Chocolate
70% cocoa or higher – high in antioxidants for anti-aging; flavonoids that prevent clogged arteries and lower blood pressure; and magnesium.
My Advice: indulge in one small square (1/2 oz/15 g) of the best quality dark chocolate (as high in cocoa as you can comfortably enjoy) every day.
Ancho Chocolate Chile (see recipe, above)
Seaweed
Arame, hijiki, kelp, kombu, nori, wakame – detoxify the body and help prevent assimilation of heavy metals; may have anticancer effects; individual seaweed varieties have varying levels of calcium, iodine, potassium and iron.
My Advice: eat seaweed once or twice per week and eat kombu or dulse raw (crushed and sprinkled over breakfast cereals, salads and main course dishes) every day.
Shiitake Mushroom Nori Rolls Recipe:
Ingredients:
- 3 tablespoons avocado or olive oil, divided
- 3 green onions, thinly sliced
- 1 zucchini, peeled and diced
- ½ cup sliced shiitake mushroom caps
- ¼ cup chopped almonds
- 3 tablespoons sesame seeds
- 1 tablespoon maple syrup
- 1 tablespoon tamari or soy sauce
- 1 tablespoon Spring Seasoning Paste (recipe above)
- 1 cup cooked Japanese sticky rice
- 2 sheets dried nori
Method:
1. In a skillet or wok, heat 2 tbsp of the oil over high heat. Swirl to coat the base and sides. Add onions, zucchini and mushrooms and cook, stirring constantly for 4 minutes. Stir in almonds, sesame seeds, brown rice syrup, tamari and seasoning paste. Transfer to a bowl and let cool. Toss rice with mushroom mixture.
2. Lay one sheet of nori out on a sushi mat or clean tea towel. Spoon rice mixture along the long side of the sheet and roll up. Moisten the long end to close the roll. Set aside and fill and roll the remaining nori sheet.
Makes 2 rolls, about 12 slices
Seeds
Flax, chia, pumpkin, sunflower and sesame seeds – sesame seeds enhance absorption of vitamin E and help lower cholesterol; pumpkin seeds contain beta-sitosterol that offers some benefit for prostate hyperplasia (BPH); sunflower seeds help lower cholesterol and may lower the risk of heart disease.
My Advice: eat 2 to 3 tablespoons of seeds (whole sesame seeds if you can find them; pumpkin if you are male) every day.
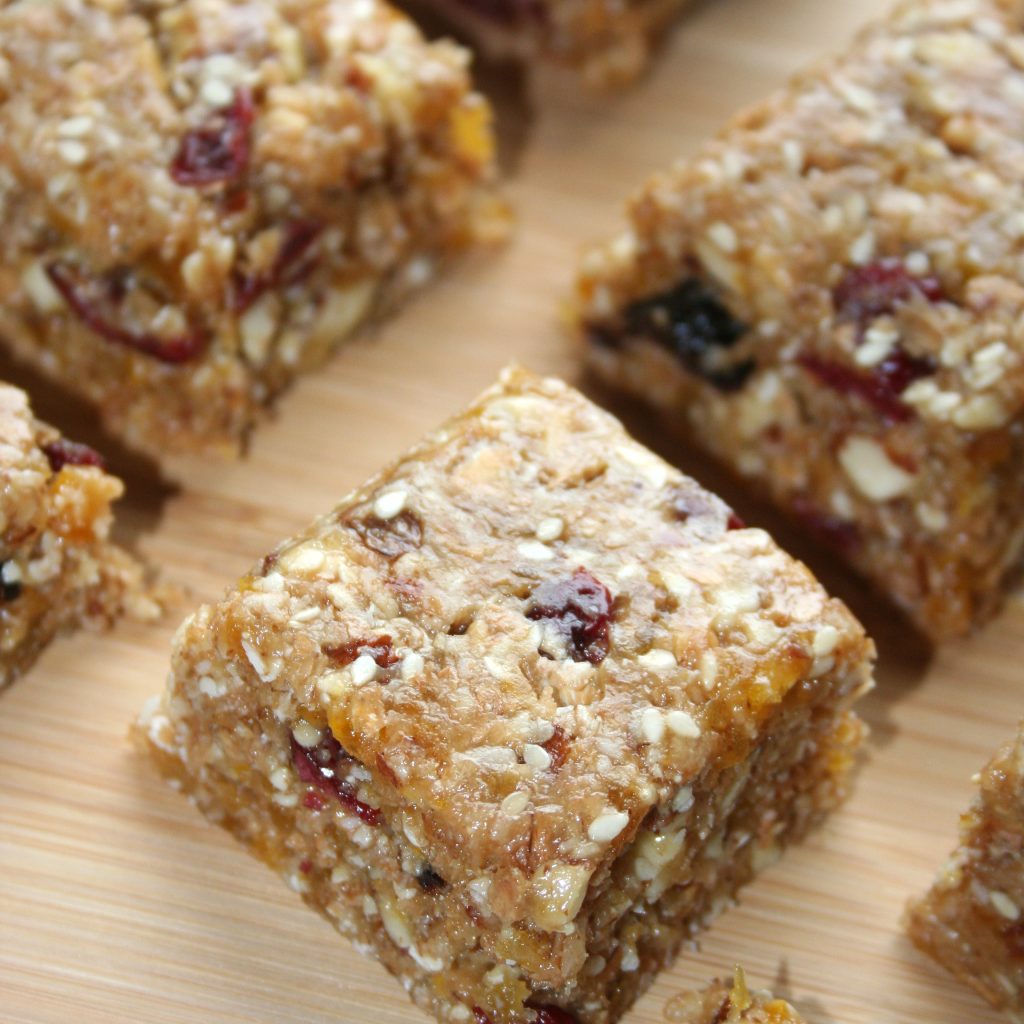
Power Oat Bars Recipe:
Ingredients:
11-by 7-inch (2L) baking pan
- 1 cup coarsely chopped walnuts
- ½ cup sesame seeds
- 2 cups granola cereal
- 1 cup large flake rolled oats
- 1 cup dried cherries or cranberries
- ¼ cup whole flaxseeds
- 2 tablespoons whole chia seeds
- 1 tablespoon freshly ground sea salt
- ½ cup brown rice syrup or honey
- 2 tablespoons coconut oil
- 2 teaspoons pure vanilla extract
Method:
1. In a large bowl, combine walnuts, sesame seeds, granola, oats, cherries, flaxseeds, chia seeds, and sea salt.
3. In a saucepan, heat brown rice syrup over medium-high heat until lightly simmering. Remove from the heat and stir in the coconut oil and vanilla. Stir until the coconut oil is dissolved. Pour over grain mixture. Press into the prepared baking pan and set aside for 15 minutes. Cut the mixture into 2 x 2-inch squares. Store at room temperature for up to 2 weeks or in the refrigerator for up to a month.
Enjoy!
Have fun trying new recipes and incorporating more super foods into your every-day life!
Recipe photos provided by Pat Crocker
Header photo provided by Serena Mor
Hot Chiles Bite Winter Back
Chile Pepper Medicine Turns Up the Heat
While on the quest for the shortest route to the East, Spanish navigators discovered the hot and fiery chile pepper. Abundant and adored by Caribbean natives, the conquistadors called it pimiento, the Spanish word for pepper.
Capsaicinoids are the naturally occurring compounds that give chile peppers pungency and heat. Every type of pepper has a unique taste – from slightly floral, fruity, sweet, and spicy to pungent – and each type has a heat rating that is based on the kind and intensity of the capsaicin it contains. For example, peppers that contain only nordihydrocapsaicin (NDHC) will present a mellow, warming effect that recedes quickly and lingers briefly at the front of the mouth. In contrast, the explosive heat and pungency of pomodihydrocapsaicin (HDHC) produces a strong numbing, burning sensation in the throat and back of the tongue that is more intense and lasts longer.
Chile heads (lovers of hot peppers) have long known that the hotter the chile pepper (and the more capsaicin it contains), the greater will be the endorphin rush they experience. Endorphins are produced by the pituitary gland and the hypothalamus – when released they cause a positive feeling in the body, similar to that of morphine. By triggering endorphins, capsaicins work as natural painkillers along with boosting memory function.
How to Gauge the Heat
Want to eat more chiles but are afraid of their blazing bite? I have two tips for helping you enjoy the incredible benefits of chiles.
First, get familiar with the Scoville Heat Unit (SHU) system of measuring the heat in chile peppers. The Scoville Scale is a standard measurement of the concentration of capsaicin (the constituent that causes the skin and mouth to tingle or burn) in every type of pepper and assigns it a number from 0 to 5 million.
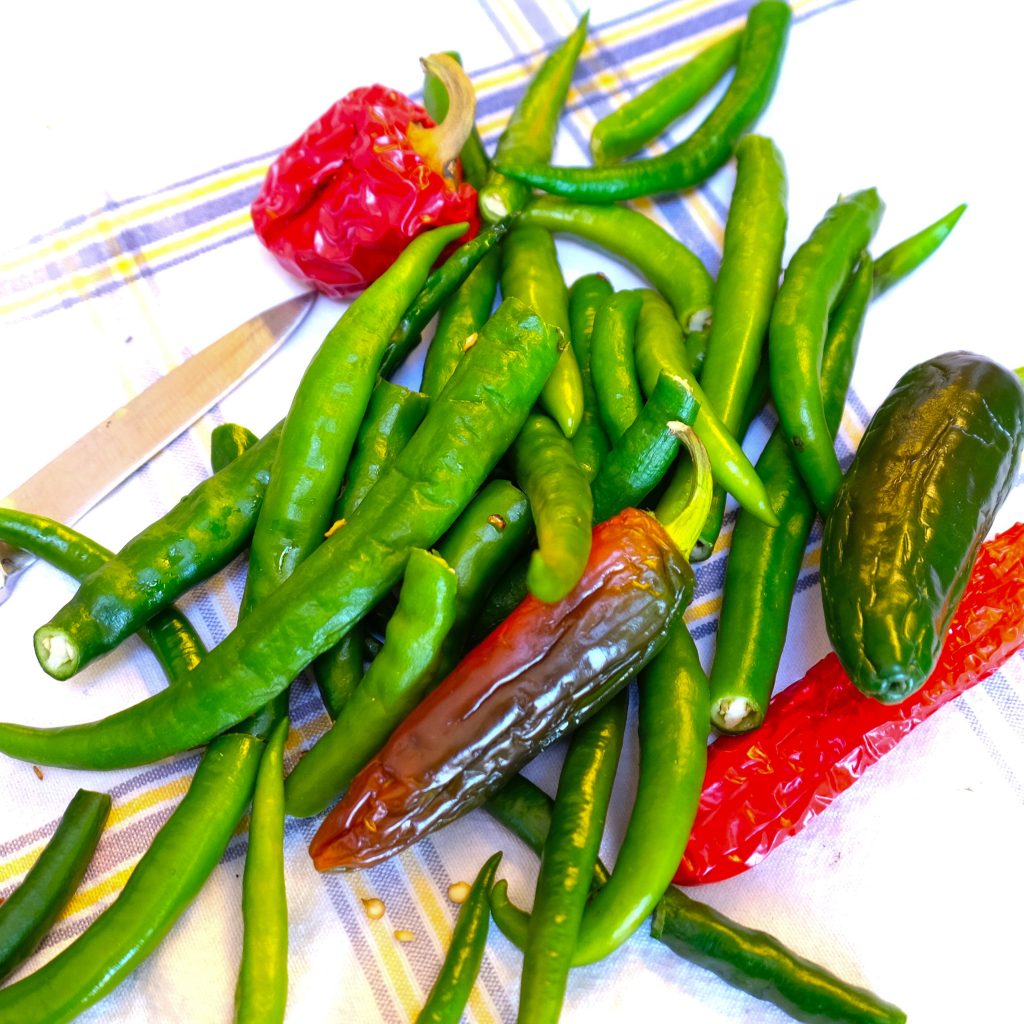
Secondly, start cooking with peppers that are low on the Scoville scale and begin to work your way towards a higher rated pepper. Sweet bell pepper types rate 0 to 1000 Scoville Units, which means that they are delicious (red bell peppers are sweeter than green), with no discernable burning, but are not high in capsaicin. Hungarian paprika is only slightly hotter, with 1,500 units, but it imparts an apple note that is perfect for stew and goulash dishes, or in vegetable stir-fries. Poblano chiles and New Mexican types move up the scale to 7,000 SHU and are roasted or stuffed and baked for a mildly hot experience that dissipates quickly.
My goal, when I began to grow, buy, and cook with chile peppers was to become comfortable eating cayenne peppers, which flare from 30,000 to 50,000 SHU. This is a reasonable goal because we enjoy significant health benefits from adding one fresh (or dried) cayenne pepper to smoothies, soups, stews, stir-fries, or other dishes at least three times per week.
I’m happy to say that it didn’t take long before I was sizzling my way up to Habanero type peppers, which register between 80,000 and 150,000 SHU. Then my friends at Shady Acres Herb farm in Minnesota sent me some Bhut Joloka (aka Ghost) chiles that they had grown. Although Carolina Reaper chiles register higher in SHU (1,600,000 to 2,200,000 SHU), Ghost chiles are still considered to be incendiary, combusting at 855,000 to 2,199,999 SHU. I dried my cache of Ghost red hots and sometimes, when I am feeling adventurous, I slip on a pair of disposable gloves, snip off a quarter-inch piece of that phantom pepper and dice it into teeny granules which then get added to a chowder or curry dish. It never fails to deliver the famous chile-rush.
Health Benefits of Cayenne
Being exceptionally high in vitamin A, which acts as an antioxidant to help fight aging and cell damage, cayenne peppers, and all others above or below them on the Scoville Heat scale, deliver an incredible array of healing gifts. Buy or grow them and use fresh, or dry and crumble them into all kinds of dishes.
Here is what you can ignite once you begin to enjoy the cayenne conflagration:
- Anti-inflammatory action – reduces the pain and swelling of arthritis. Cayenne cream or salve is applied topically to treat arthritis and muscle pain
- Lowers cholesterol – and triglyceride levels for heart health
- Fights bacteria and viruses – with its high vitamin C content
- Increases circulation – by improving blood flow and stimulating sweating (an important process of detoxification). A tea made of warm water, lemon juice, and cayenne pepper is an excellent morning beverage for total body health
- Anti-fungal properties – soak feet in warm water with one tablespoon powdered cayenne pepper to help alleviate athlete’s foot
- Aids digestion – capsaicin stimulates the digestive tract and may give relief to people suffering from peptic ulcers by stimulating blood flow that nourishes the gastric mucosal membrane
- Helps relieve allergies – and acts as a decongestant by stimulating the release of mucus from respiratory passages
- Reduces blood clots – and can be used as a first response for wounds to stop bleeding
How about you? What varieties are you eating or using to make medicine?
Watch for my next post, Cooking with Cayenne. Meantime, here are some recipes that will warm and soothe:
Harissa
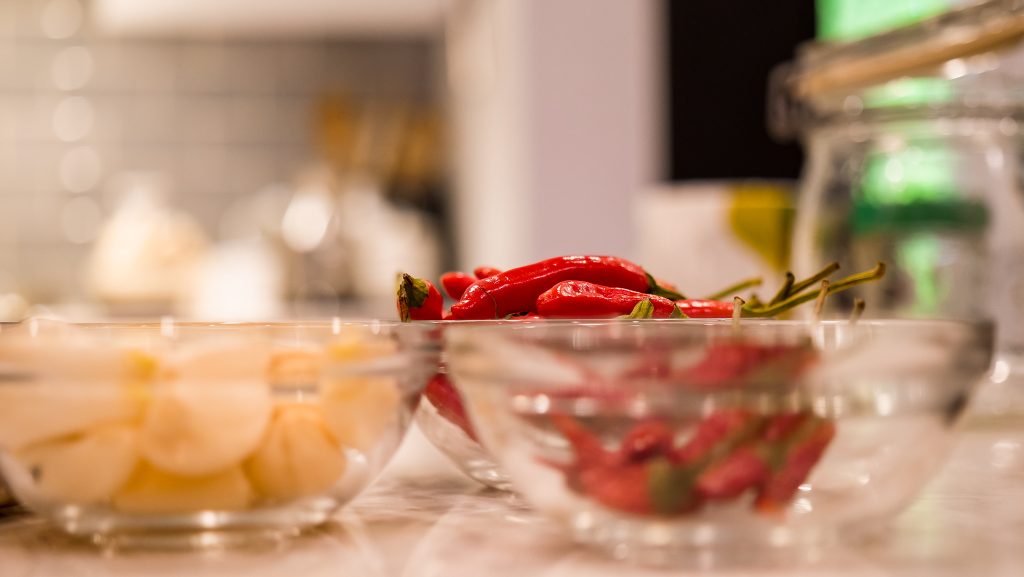
A key flavouring and condiment in Middle Eastern and North African cuisine, Harissa is never far from a Moroccan, Libyan, Algerian, Turkish, or Tunisian table. In fact, it is the go-to seasoning for many cooks in the region. Often it is added to soup, stew and curry dishes or tagines, used with meatballs, or rubbed into kebabs and other meats before grilling. The main ingredient is cayenne (or other hot chile peppers) and while it is easy to make from fresh or dried hot chiles, it is also widely available in cans or tubes, or freshly prepared in tubs in Middle Eastern or North African markets.
Dairy products (in particular yogurt), and the starch in pastas and couscous, help to dial the heat down and so they are often paired with harissa and other hot chile dishes.
(Makes 1/2 cup)
Ingredients:
- 12 cayenne, serano, or jalapeno chile peppers, fresh or dried
- 3/4 cup boiled water
- 1 tablespoon cumin seeds
- 2 teaspoons coriander seeds
- 1 teaspoon fennel seeds
- 1 piece (2-inch) cinnamon, crushed
- 1/2 teaspoon fenugreek seeds, optional
- 2 cloves garlic
- 1/2 teaspoon sea salt
- 1/2 cup extra-virgin olive oil
Method:
Discard stems and seeds from the chiles. Using kitchen scissors, cut chiles crosswise into thin strips, letting them fall into a bowl. Pour water over top and soak for 30 minutes or until softened.
Meanwhile, in a small, heavy pan or spice wok, over medium heat, dry-fry cumin, coriander, fennel, cinnamon, and fenugreek seeds (optional) for three minutes, or until fragrant and light brown. Set aside to cool.
Using a small food processor or blender, chop the garlic with the salt. Drain chiles, discarding the soaking water (or reserving it for another use later). Add chiles to garlic and process until smooth. Add toasted spices and process to incorporate them into the mixture.
With the motor running, gradually drizzle in the oil through the opening in the lid, processing the mixture until the sauce is well blended to a consistency of mayonnaise.
Pat’s Cayenne Fire Cider
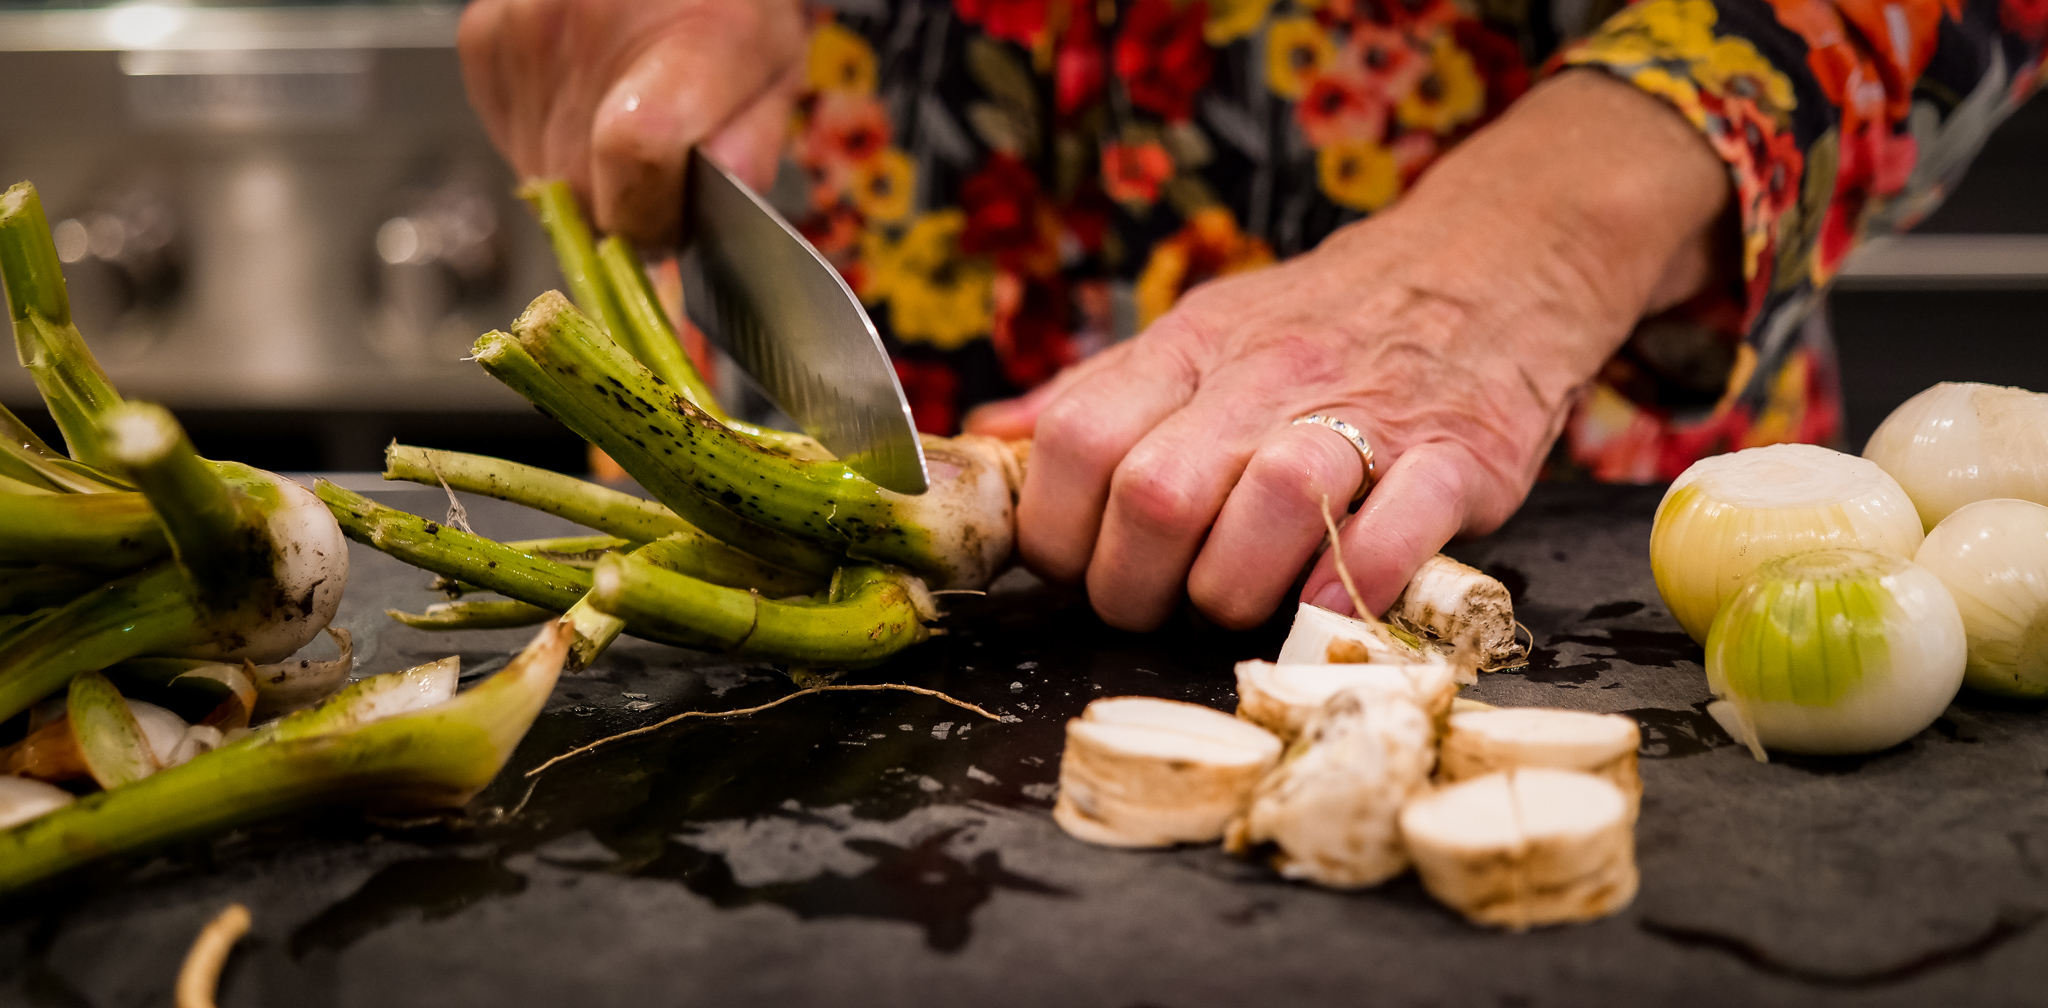
The name sounds daring, and the brew is ablaze with the energy of healing ingredients. This natural sinus, cold and ‘flu folk remedy has been home-brewed for eons by herbalists, naturalists, and anyone who has learned of its efficacy. Grated horseradish root, garlic, onion, ginger, and hot peppers are the main ingredients that are steeped in organic unpasteurized apple cider vinegar, but you can develop your own amounts and combinations. Before my horseradish plant grew large enough for me to actually dig the roots, I developed the following simple and very potent blend. Now I add the horseradish, but you can omit it if you can’t find fresh root.
See the Resources section for a link to herbalist Rosemary Gladstar’s Fire Cider method [2] and visit the Mountain Rose Blog [3] to read about this well-known herb supplier’s Fire Cider.
(Makes about 4 cups)
Ingredients:
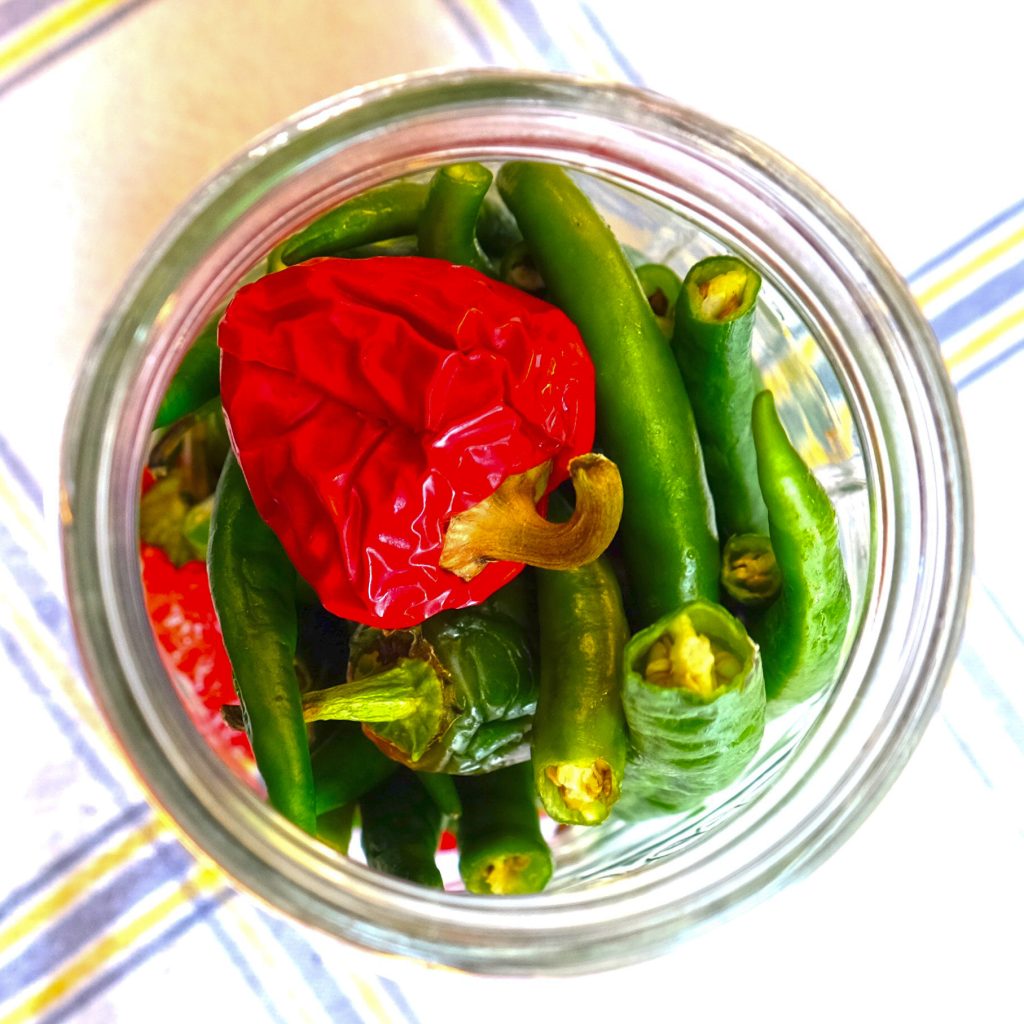
- 25 whole fresh cayenne peppers
- 1 head garlic cloves, peeled and sliced
- 1 cup fresh ginger, grated
- 3 – 4 cups raw unfiltered apple cider vinegar
- Optional Ingredients
- 2 cups grated fresh horseradish
- 6 sprigs fresh rosemary, horehound, thyme, sage, parsley
- 2 onions, chopped
Method:
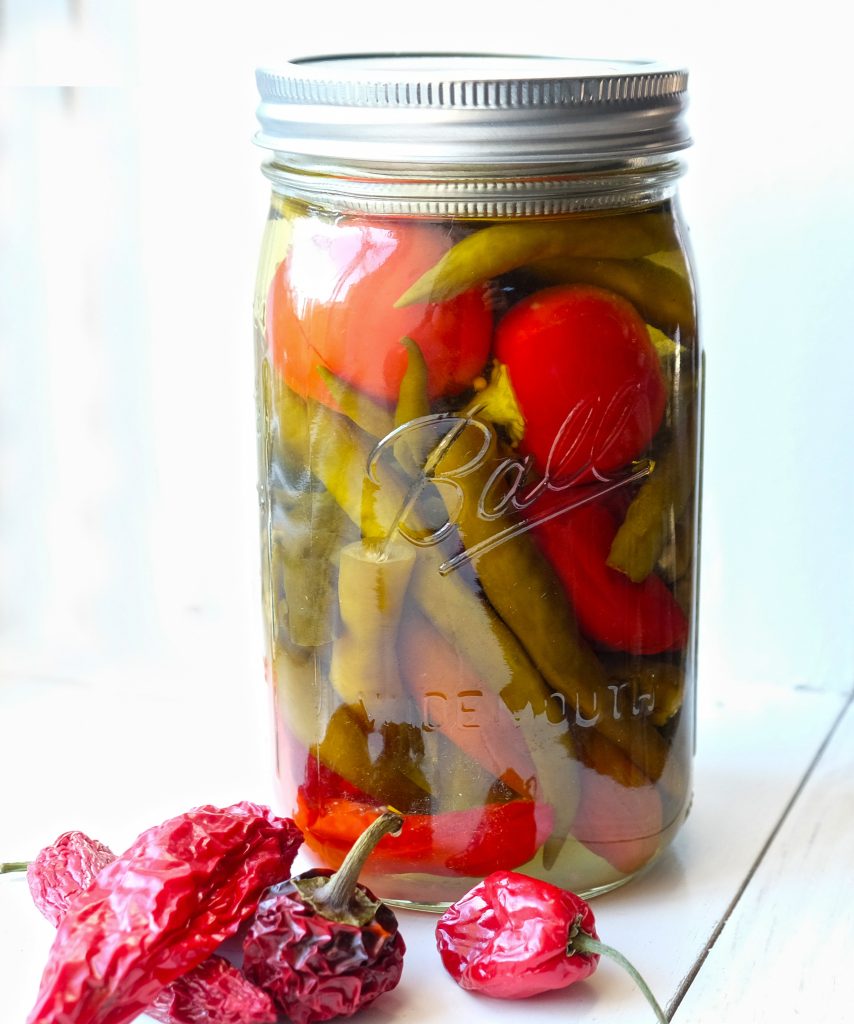
Clean and slit or halve the peppers. Loosely pack them into a one quart mason-style jar. Add garlic slices and ginger. Add horseradish and other optional ingredients, if using.
Fill the jar, covering the ingredients with vinegar, leaving a half-inch space.
Make sure the peppers are below the vinegar, and cap the jar with the 2-piece lid. Set aside in a cool, dark cupboard for a month or longer.
After steeping the ingredients, you can refrigerate the jar (although it isn’t required). If you don’t strain the vinegar, you can fish out, drain and use the chiles, garlic slices, and ginger in recipes until they are finished. Alternately, you can strain the vinegar and make syrup as follows.
To make a cough syrup: Strain the steeped vinegar into a 6-cup measuring cup, pressing on the solids to extract as much vinegar as possible. Discard the solids.
For every cup of strained vinegar, add 1/4 – 1/2 cup (to taste) liquid honey. Stir well or heat over low setting in a saucepan to melt and combine the honey. Pour into 1-cup jars, cap, label, and store in a cool, dark cupboard.
Serving suggestions for unsweetened steeped vinegar:
- Take one tablespoon of vinegar in a glass of warm water with one to two teaspoons of honey every morning for its tonic benefits.
- Substituting steeped vinegar in recipes that call for regular vinegar (salad dressing, dips, spreads, sauces, and other condiments) will infuse them with the healing benefits of Fire Cider.
- Cough Syrup: Take one tablespoon at the first sign of a cold and repeat every two to three hours until symptoms subside.
Resources
[1] Tucker, Art and Thomas De Baggio, The Encyclopedia of Herbs. Portland, OR: Timber Press, 2009
[2] Rosemary Gladstar, video of her Fire Cider method
Pat Crocker cultivates cayenne and turns up the heat in recipes. Her newest book, The Herbalist’s Kitchen is available on her website and at all major bookstores. Photographer, lecturer, and author of several award-winning books, including Coconut 24/7, Preserving, The Vegan Cook’s Bible, The Vegetarian Cook’s Bible, The Healing Herbs Cookbook, The Juicing Bible, and The Smoothies Bible, Pat would love to hear from you about your personal adventures with herbs. www.patcrocker.com
Blog photos provided by Pat Crocker
Header photo provided by Serena Mor
Herbal Tooth and Gum Powder: Oral Hygiene & Herbal Medicine
The Importance of Oral Health
It is said in many holistic healing traditions that all disease begins in the gut. But it’s important not to forget that the entire digestive process, and the beginning of our GI tract, starts in the mouth. A healthy mouth is essential for maintaining optimal immune system function, which becomes quite clear when we consider that a very significant part of the immune system resides in the digestive tract. Just as is the case with the gut microbiome, the microbiome of the mouth needs to be well cared for – the healthy bacteria need to be allowed to flourish. The condition of the mouth, gums, tongue, and teeth reflect many things about the health of the whole body. Rudolf Steiner went so far as to say that, “the teeth are the sum of the world mysteries.” Herbal tooth and gum powders are an excellent way to help care for the mouth. This particular blend can do wonders when it comes to weak tooth enamel, preventing (and, as per my own clinical experience, even reversing) cavities, tooth and gum sensitivity, soreness and pain.
The herbs in this formula have a long and continued history of use in herbal medicine, though since the advent of modern dentistry, are no longer quite as esteemed as they once were for their ability to keep the mouth, teeth and gums in optimal shape. Perhaps most notably from a historical perspective is the bark of the White Oak tree (Quercus alba). The astringing inner bark of this mighty tree contains tannins, saponins, and minerals (including calcium) – all of which, when properly balanced (i.e. found in the form of a whole herb, as nature intended), are greatly beneficial not only for the teeth, but also for the tendons that attach the teeth to the jaw. Looking back at our herbal literature, one can find many references to the use of Oak bark for gum disease, cavities, loose and brittle teeth, sensitive, sore and bleeding gums, foul breath, canker sores and ulcerations of the mouth.
Tooth and Gum Powder Recipe
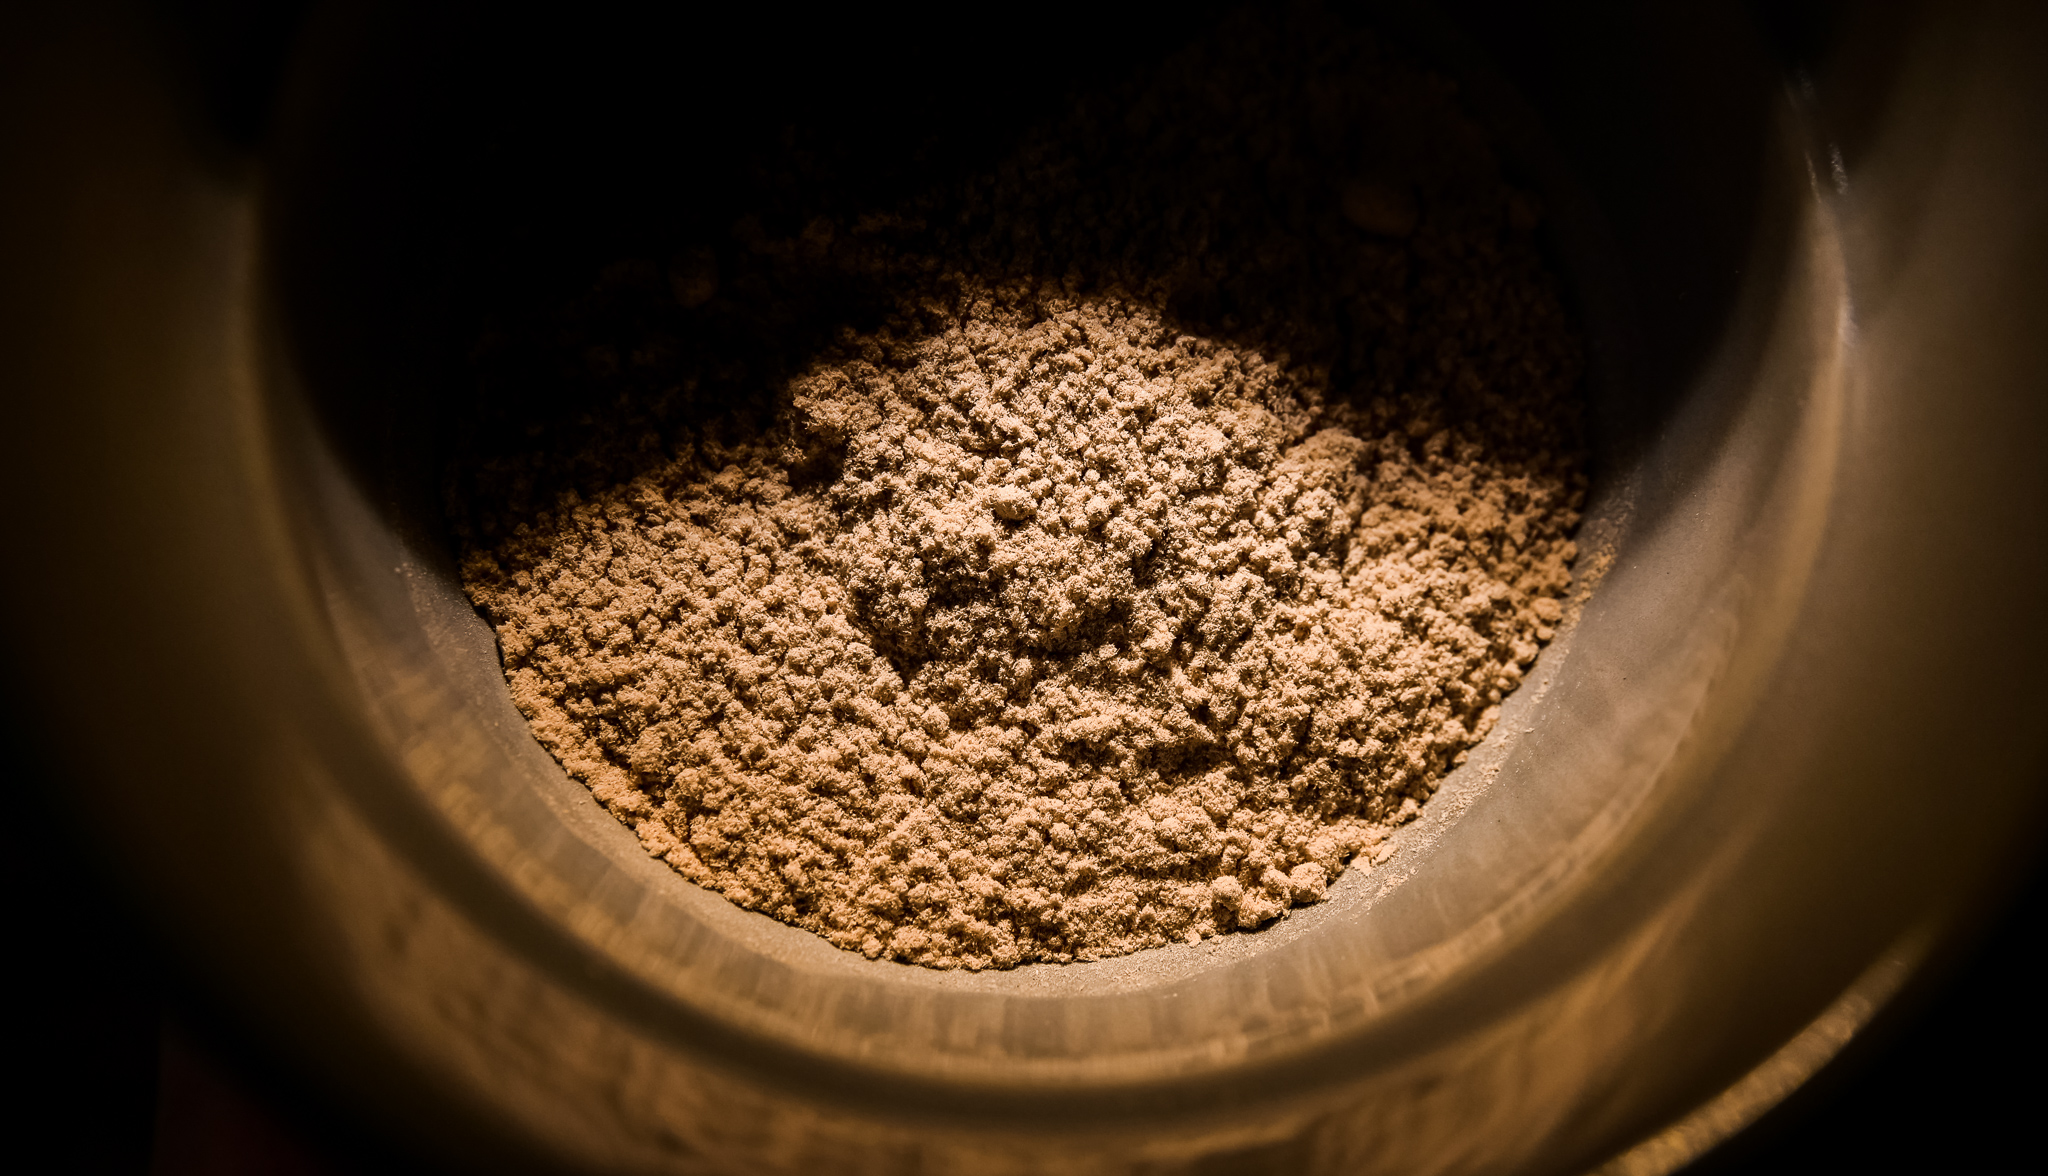
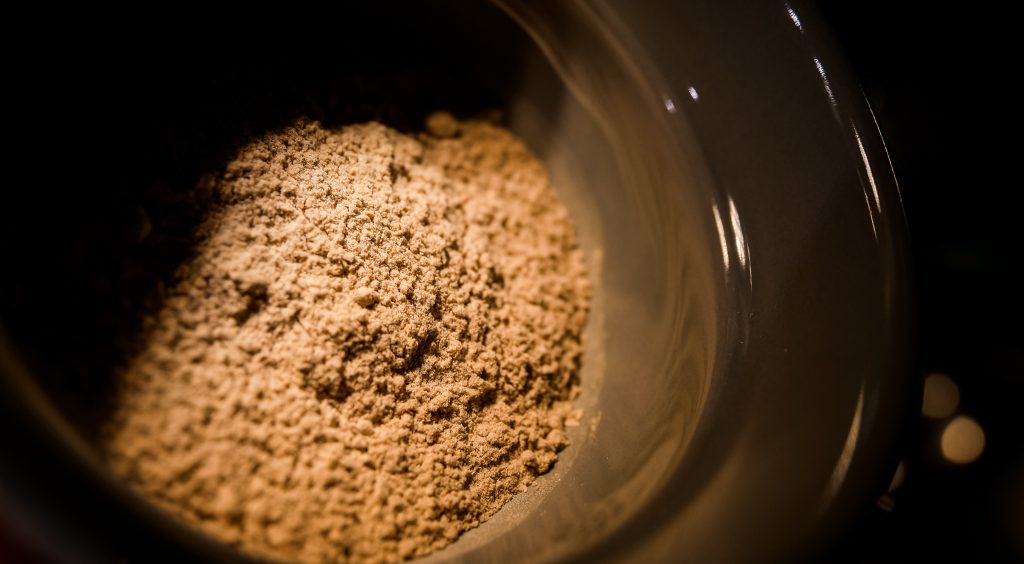
Combine equal parts of the following finely powdered herbs:
- Horsetail
- Peppermint
- Licorice
- White Oak Bark
- Cloves
- Prickly Ash Bark
- Bayberry Bark
- Slippery Elm Bark
- Neem Bark
Application
Once finished, use this powder as you would any tooth paste (it can also be applied to any problematic spots in the mouth and let sit).
Cloves, Peppermint and Licorice, which can help to prevent the accumulation of biofilms – including plaque – on the teeth and gums, are strongly flavoured herbs and may be left out according to individual preferences. Many of the herbs in this formula exhibit broad spectrum antimicrobial activity, and leaving one or two of them out will not significantly affect the efficacy of the product.
Tongue Cleaning
In addition to the use of a herbal tooth and gum powder, one thing that I recommend to nearly all of my patients is tongue cleaning (preferably with a metal tongue scraper) – a practice which is considered to be of the utmost importance in the maintenance of one’s oral hygiene in the Ayurvedic tradition. As Karta Purkh Singh Khalsa and Michael Tierra explain in ‘The Way of Ayurvedic Herbs’: “Cleaning the tongue is a critical part of maintaining oral health. Ayurveda, in particular, emphasizes this daily practice. Brush your tongue while brushing your teeth, or use a tongue scraper. Tongue cleaning reduces bad breath, and helps to prevent plaque.”
Try incorporating herbal tooth powders into your daily routine. Please feel free to let us know about your experiences or if you have any recipes of your own.
Flaming Caesar Fire Cider Recipe
Fire Cider
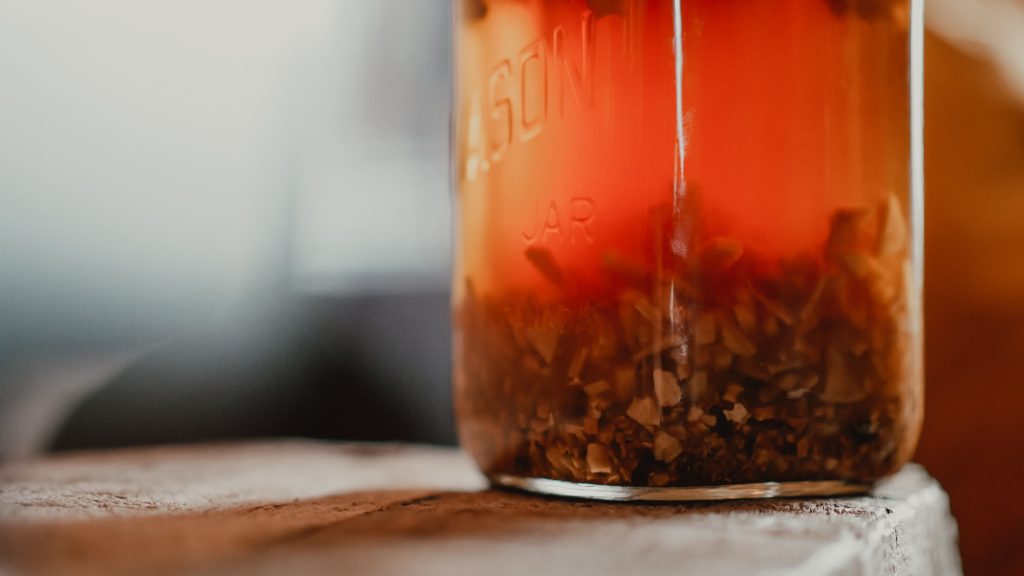
What is it? Commonly an apple cider vinegar based infusion that can be made with many different variations and ingredients. Most common ingredients include; horseradish, onions, garlic, hot peppers, ginger.
What is a Caesar?
To my American and Canadian friends, this is for you!
The wildly popular Caesar Cocktail was invented in Calgary, Alberta in 1969! It quickly became beloved by Canadians where over 350 million Caesars are consumed annually. It typically contains vodka and Caesar mix (a blend of tomato juice and clam broth, hot sauce and Worcestershire sauce, and is served over ice in a large celery salt-rimmed glass. Take a lick of the celery salt and then a drink of the Caesar through the straw.
This is my personal favourite drink! The recipe here, using our Flaming Caesar fire cider, puts it over the top for me!
Cheers!
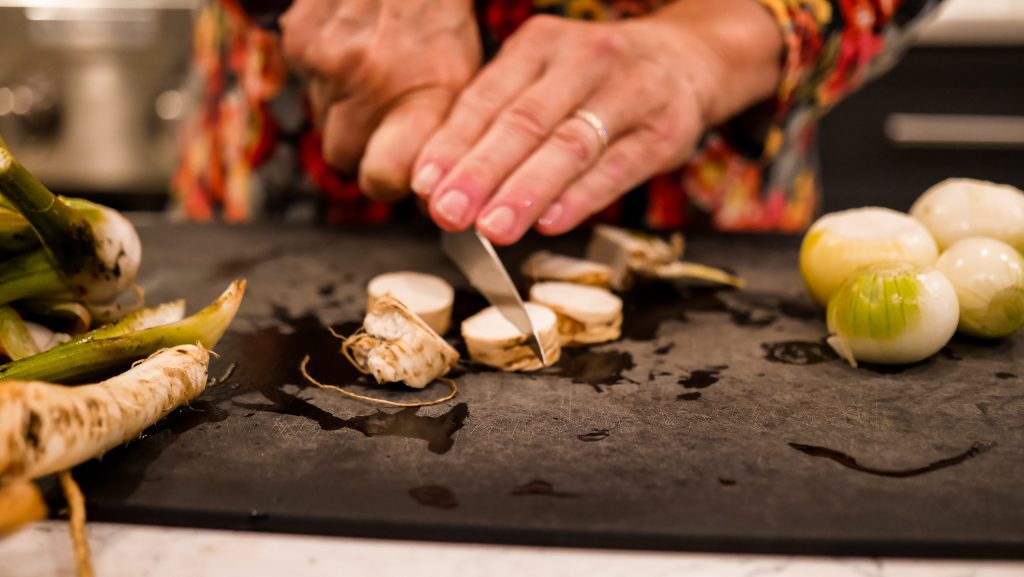
Caesar Recipe
- 8 oz of Clamato juice (may substitute with tomato juice)
- 1 oz vodka
- 1-2 tsp Flaming Caesar Fire Cider (our secret ingredient! See below to make) Top with any of these classic toppings: Celery stick, olives, pickles, pickled asparagus or beans. Many carnivores even enjoy a meat stick. Rim with celery salt. My personal favourite addition in the summer is a straw made with a hollow Lovage stalk. (Lovage plants are available in stores or online, at Richter’s Herbs)
Flaming Fire Cider Recipe
Ingredients:
- ½ cup chopped Horseradish (freshly dug is best)
- 1/8 cup garlic chopped
- ½ cup chopped Onion
- 1 Lemon (zest and juice)
- 1 Lime (zest and juice)
- 1-2 slices Jalapeno pepper
- ¼ tsp Mustard seed
- ½ tsp Red Pepper flakes
- 1 pinch Sea Salt
- 1 pinch Black Pepper
- 2-3 tsp. Celery Salt
- ¼ tsp. Paprika
- ½ tsp. Turmeric
- 2 tsp. Oregano
- 1 tbsp. Pickle juice
- 3 dashes Worcestershire
- Apple Cider Vinegar
How to Make:
- Chop your roots, and place in jar.
- Cover with vinegar.
- Add all other ingredients and shake well.
- Store jar in cool dark place for one month. Shake lovingly each day!
- Strain mixture through cheese cloth into a clean jar and label.
*Note: Organic ingredients or farm fresh are always preferred!
Making Herbal Wines
The Art of Herbal Wine
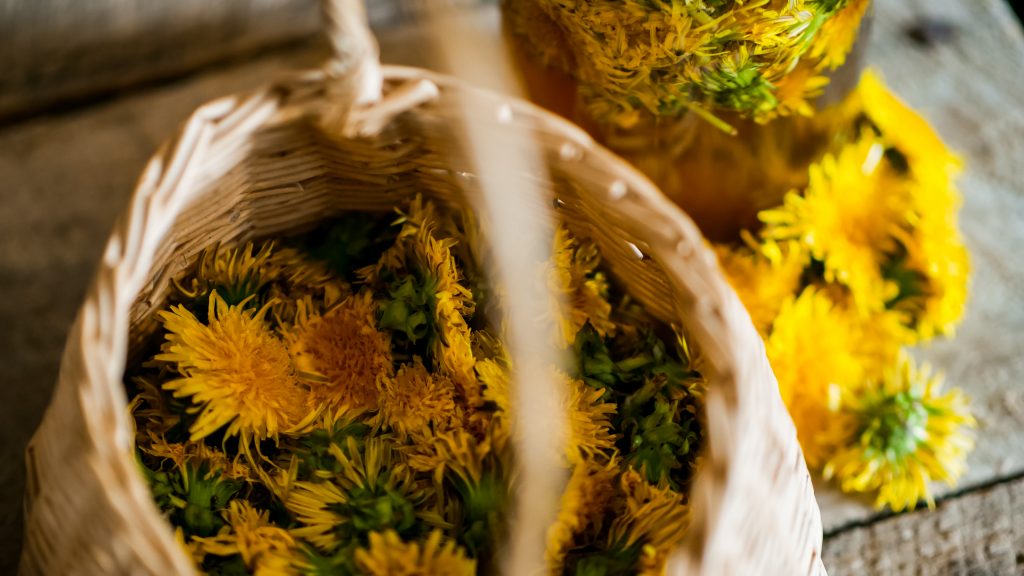
One of the many pleasures of a life in the country is the abundance of free food and the makings of fine drink. Sitting here at my desk, glass of Dandelion wine in hand, the golden glow of the flickering firelight passing through the pale amber nectar drifts my mind back to the Spring and the picking and preparation that led to this magic moment.
Anyone who has ever made their own wine or beer will understand my feelings but nowadays of course, wine nearly always refers to a Chateau produced store bought liquid, made from grapes grown in some exotic far away land. However, until very recently, many other varieties of fruit and even flowers were used by enterprising brewers. Dandelion, Red Clover, Rosemary, Melissa and Rose flowers were all used and all have their own distinctive nose, flavor and effect. Herbs were used for their traditional medicinal values, the wine-making process being merely the method of preservation.
Dandelion for the digestion and liver, cowslip to help with sleep, clover flowers as a tonic and mild euphoriant, these herb wines are very simply made, with minimal amounts of time and equipment and once tried and successfully imbibed, they can become an integral part of your routine and life style. After all, what better way is there to take your medicine than in a glass of fragrant ambrosia? Hoping that I’ve caught your interest, (excuse me while I pour myself an other glass!), perhaps you’d like to give flower wines a try.
Here to help you on your way is my own tried, and very well tested, recipe.
Ingredients:
- Two quarts of Red Clover or Dandelion flower-heads. (Or any other type of edible/medicinal flower. Good ones to try are Calendula, Rose, Violet, Elderflowers, etc. Use your own judgement, the recipe is good for almost any combination of flowers and herbs).
- 1 Kilo (2.5 lbs) of sugar*
- 3 lemons
- 4 ounces un-coated raisins or sultanas
- 1 packet Champagne type wine yeast.
You will also need some equipment, most of which can be found in the kitchen:
- A two or three gallon container, (stainless steel, earthenware, glass or un-chipped enamel)
- A one gallon glass flagon
- fermentation lock*
- campden tablets*
- siphon tube
(These can all be obtained, along with the yeast, quite inexpensively from any home-brewing store).
Notes:
*White sugar (preferably organic) is the best to use, as it allows the full flavours of the herbs and flowers to come through in the wine. Using this recipe the vast majority of the sugar is converted into alcohol by the yeast, giving you a dry wine.
*Campden tablets are a sulphur-based product that is used primarily to sterilize containers for wine, cider and in beer making to kill bacteria and to inhibit the growth of most wild yeast, so improving the taste of your wine. It will also remove both free chlorine and chloramine, from water solutions. It leaves no flavour and thorough rinsing will leave no trace.
*A fermentation lock is used in beer brewing and wine making because it allows the carbon dioxide released during fermentation to escape the fermenting vessel, while not allowing air to enter and thus avoiding spoiling the wine.
Preparation
Pick the flowers on a sunny morning after the dew has dried. They are best picked after several days of full sun but Mother Nature is not always so obliging. Choose only the best flowers and discard all green parts at the base of the flowers. (They will make the wine bitter). Collect two full quarts of flowers for each gallon you wish to make. (This is a good job to give to the kids on a sunny Sunday afternoon. You won’t see them for at least an hour.) It is very important that you collect only from areas that have not been sprayed with garden or agricultural pest sprays. Avoid all roadside flowers as they contain high levels of pollutants.
Sterilization
It is important before starting in the kitchen to ensure that all the implements and containers used are scrupulously clean. Make up a sterilizing solution using the campden tablets, (follow the instructions on the pack) and then thoroughly rinse and clean everything you intend to use. This is the most important operation in home wine making, get it right and your wines turn out perfectly every time, screw-up and your friends will find all sorts of reasons for why they can’t pop over to watch the game, join the barbecue, etc. etc. Anyway, we are digressing. Back to the wine…
Clean Your Herbs
Clean the flowers of insects and dirt and place them into the largest container. Add the juice from the three lemons and the washed raisins or sultanas, and immediately pour over them six pints of boiling water. Stir it all up with a sterilized spoon, cover the container with a sterilized lid and leave to stand for twenty four hours.
Day Two
Next day, lift up the lid and take a peek at the dead flowers and other bits, floating in the water. Hmmm… Give it all a good stir and then strain out the liquid into a clean sterilized container. Rinse out your original container with some sulphite solution and then immediately pour the strained liquid back in. Add the sugar and two pints of boiling water, stirring well so as to dissolve the sugar, and then add the yeast, which has been prepared beforehand as instructed on the package. Stir it again, cover and put it away in a warm spot where the temperature stays around 70-80 degrees. Now forget all about it for one month.
After One Month…
The month has passed and you rush like the wind to take a look at your wine. Urgghh!! It smells weird and looks weirder, but don’t worry, every thing should work out fine. This is where the siphon, flagon and fermentation lock come into the picture. First sterilize all your equipment with a sulphite solution and rinse thoroughly. Then siphon the contents of your brewing bin into the flagon. This will give you your first taste, but don’t despair it gets much better! Set up the fermentation lock as per the manufacturer’s instructions, pop it on top of the flagon and now take it back to that warm out of the way place where you hid it before.
The Final Wait…
Now comes the hardest part of the whole show. You have to forget all about this big bottle of fermenting nectar for at least six months. Don’t be tempted to peek inside, smell or God forbid – taste your new concoction! Don’t even think about it! That day is still in the far future.
Six months have passed. November arrives and the nights are getting longer. Remember the wine? It’s now ready to be bottled. You’ll need about six or seven bottles for each gallon. Use only those bottles that are designed to hold pressure, i.e. Champagne or sparkling wine bottles, even those thick heavy old-fashioned cola bottles. Use a sulphite solution to sterilize the bottles, corks and caps, and using a sterilized siphon tube, carefully siphon the clear liquid from the flagon into the bottles without disturbing the sediment in the flagon. Tastes pretty good now, eh!
To make your wine just a little sparkling you can add no more than a half teaspoon of sugar to each bottle. Seal the bottles well and let them stand in a warm place for three days. Then place them in the coolest part of the house and wait six more weeks. It will then be just about ready to drink. Of course like many wines it will taste better if left longer, (about a year is best).
But of course we’re all only human and so must inevitably try out the fruits of our labour. Invite around your true friends, break out the best glasses and then carefully open your first delicately cooled bottle, without disturbing the sediment on the bottom. Pour carefully into each glass, filling them all in one delicate movement, again so as not to disturb the sediment. Sit back, raise your glass in a toast and sip this delightful ambrosia. Revel in the complements and congratulations of your friends, for they are truly deserved. And think of the coming Spring and the fifteen gallons that you plan to brew.
Good luck!!!
Rhubarb Shrub Recipe and Companion Plants
The Mighty Plant: Rhubarb!
Just say the word Rhubarb, and childhood memories come flooding back! My sister and I barefoot in the garden on a sunny morning, with a tin cup of sugar, picking just the right piece of rhubarb for our tasty spring treat. Ah that first bite, crunch! Oh so tart! then dip, and oh, so sweet! We waited all year for these special garden moments
Rhubarb is most often thought of as a vibrant fruit because of its sweet, tart taste, and is often found in home baking, such as a rhubarb pie, but did you know that it’s actually a vegetable? Cross my heart! Come to think of it, there is a strong resemblance to celery. While technically it is a vegetable, legally it’s considered a fruit due to a 1947 court ruling in America. Interesting eh?
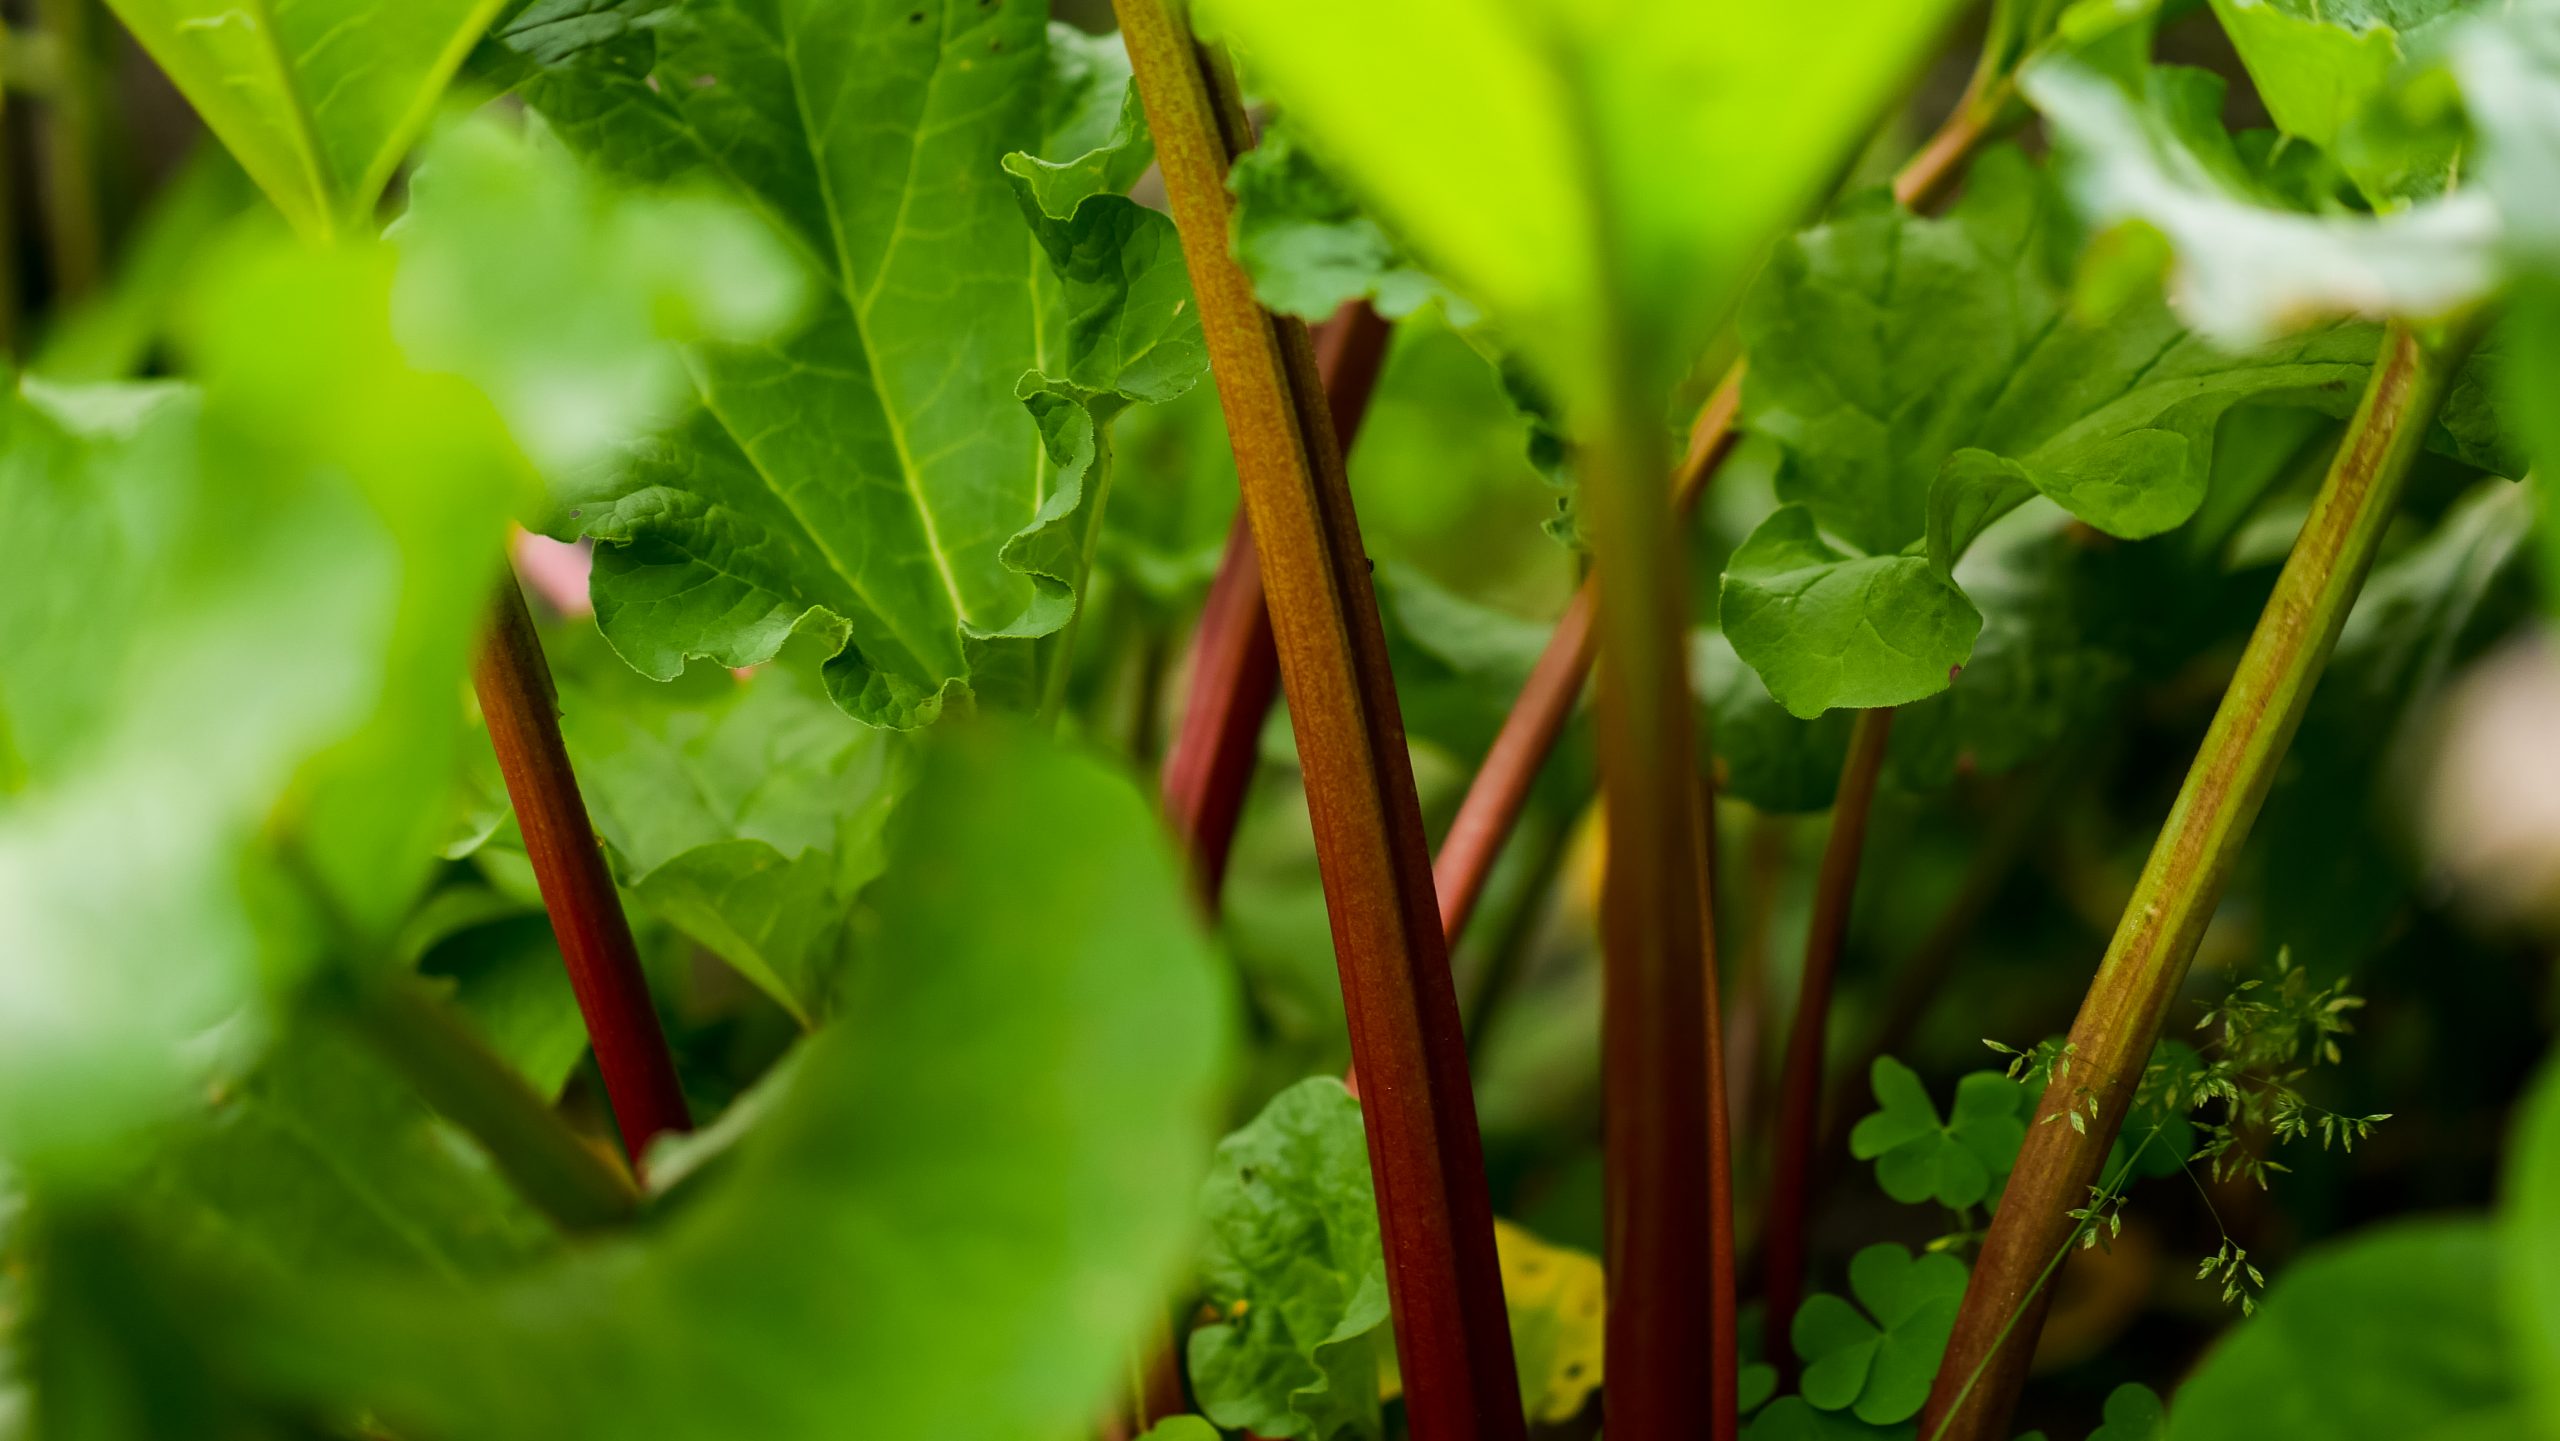
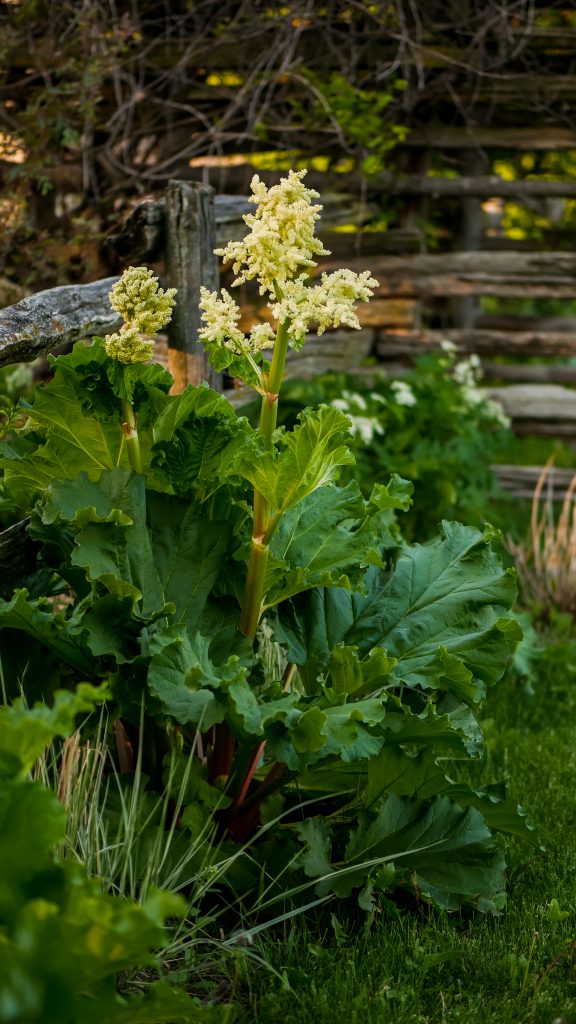
Rhubarb, part of the Polygonaceae family of plants (perennial), is a unique looking plant with a remarkably interesting history. The rhubarb plant was originally used in many forms of traditional medicine, first showing up in Europe over 400 years ago. It’s fascinating to share that there are records showing rhubarb among the medicines traded along the Silk Road. Scientifically, it is an herbaceous perennial with leaves growing off the top of a thick rhizome. The leaf stalks and seeds are the only parts of the plant consumed. The heart-shaped, wide-veined leaves contain oxalic acid, which can be toxic when consumed in large quantities, so discard them before you use or store the stalks. As a gardener I love the beautiful addition rhubarb offers the landscape thanks to these large leaves and colourful stalks.
Harvesting
Rhubarb season runs from April through June. When harvesting, the stalks are carefully pulled or cut from the rhizome, and the toxic leaves are removed right away. Plants can generally be harvested for a four-week period in the third year and for around eight to 10 weeks in subsequent years.
How to Freeze Rhubarb? Simply pick and chop off the leaves, wash and pat dry the stalks. Chop into small even pieces. Put in a freezer bag and empty it of all the air (I measure 4 cup amounts because this is how much we need to bake a 9 inch pie). Put in a freezer and use throughout the year. Make sure to thaw and drain the frozen rhubarb before using it!
So, What is a “Shrub” Anyway?
It sounds all fancy dancy, but a Shrub is a super easy way of preserving fruit. Before we had refrigerators, our grandmothers were using many ways to preserve nature’s bounty. Canning, curing, smoking and dehydrating (which all sound very familiar) , but shrubs – also known as drinking vinegar – might be something new to you. A shrub is just a simple fruit syrup fortified with vinegar instead of water for preserving the essence and flavour of the plants being used. The vinegar continues to work with the sugars, and over time, creates a twist … mellowing and melding into a wonderful concoction. The tangy rhubarb shrub can be added to water, mineral water, sodas, or spirits for a refreshing tart drink. I also like to add a kick of ginger or some heavenly mint from the garden! Be inventive; try adding a splash of fruit juice, herb and spices to make a new drink each time.
Shrubs were popular during 1600s, 1700s and 1800s and has been making a come back for some time. Now appearing in specialty shops being used most commonly in craft cocktails, or mocktails. I LOVE the saying, “everything old is new again”. Ain’t that the truth!
This traditional treat is welcomed on a hot summer day or makes a lovely gift!
My Mom’s Rhubarb Shrub Recipe
Ingredients:

- 6 cups of freshly picked Rhubarb
- 1 ½ tsp dried ginger (optional)
- ¾ cup apple cider vinegar (can also use white or red wine vinegar or water)
- 3 hand sized pieces of Sweet Cicely leaf
- ¾ cup sugar (if not using Sweet Cicely, sugar should be 1 ¼ cups)
Directions
Wash rhubarb and sweet cicely. Combine chopped rhubarb, sweet cicely, sugar, ginger, and vinegar in a medium saucepan. Cover and bring to a boil over medium-high heat. Once boiling reduce heat to low. Cook, stirring occasionally, until rhubarb is completely broken down and strands are visible, 15 minutes.
Use a fine mesh sieve or colander lined with cheese cloth and strain mixture into a glass container. Let cool and then chill.
Voila! Shrub is ready to use.
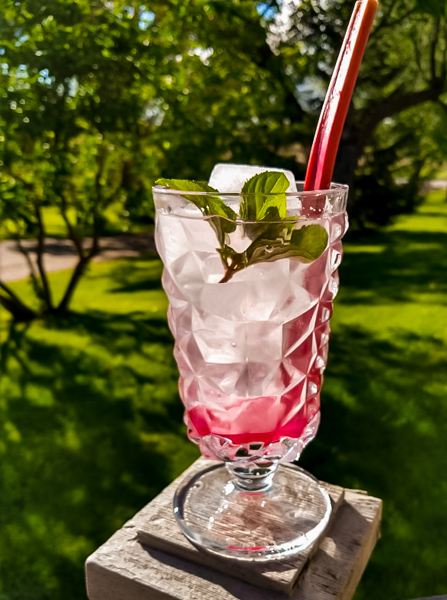
For a refreshing drink simply add 1/8th cup (1 oz) of shrub to the bottom of a tall glass, fill with ice and top with water or sparkling water. Top with a mint leaf and small stalk of rhubarb. Optional: add a splash of juice, vodka, gin, gin smash or Tom Collins.
** Note: Any left over rhubarb can be frozen for later use. I always pick extra and bag up 4 cups of cut rhubarb with a leaf of sweet cicely for baking a pie or crisp when rhubarb is out of season.
Companion Plant Pairings for Your Garden: Rhubarb and Sweet Cicely
Plants grow better with a little help from their friends. The practice of planting different varieties of plants together is known as companion planting and can help ensure a healthy harvest of both crops. Rhubarb and Sweet Cicely are a perfect pair. They have been growing harmoniously side by side in my old vegetable garden for years. But the best part is they are ready at the same time! They are a delight to any gardener who loves Rhubarb but does not want a ton of sugary desserts. Sweet Cicely helps you to cut the amount of sugar in any given recipe by almost half. AMAZING!
Other kitchen pairings:
Sweet shrubs: strawberries or blackberries with mint, sweet cicely seeds with pineapple, or peaches with basil.
Savory shrubs: tomato shrub infused with chilies and cilantro, cucumber with fresh ginger, or celery and caraway seeds.
Medicinal Information
Sweet Cicely
- Aromatic, stomachic, carminative and expectorant. Possible diuretic
- Useful in coughs and pleurisy
- Gentle stimulant for debilitated stomachs. Useful in flatulence
- The fresh root may be eaten freely or used in infusion with brandy or water. A valuable tonic for girls from 15 to 18 years of age
- The roots are antiseptic, and a decoction is used for bites of all kinds through bugs to animal
- The essence to be aphrodisiac
- The decoction of roots in alcohol is also said to be effective for consumption
- Ointment made eases the pain of gout
Rhurbarb
- Eases digestion: the fiber in rhubarb promotes a healthy and normal digestion process and eases abdominal discomfort such as bloating and cramping
- Bone health: the vitamin k, combined with the rich amount of calcium and other minerals found in rhubarb, promote bone protection and strengthening. The high amounts of vitamin K also promotes osteotropic activity, meaning that it stimulates bone growth and repair
- Brain health: protecting the brain from neurological damage and disorders, such as Alzheimer’s
- Antioxidant: fights free radicals and keeps inflammation in check
- Relieves constipation and diarrhea: as it eases digestion, it can also relieve constipation and diarrhea
- Lowers Inflammation: the antiviral effects of rhubarb also help inhibit inflammation, making it an effective anti-inflammatory
- Aides Perimenopause and Menopause symptoms such as hot flashes.
- Menstrual cramps
- Nutrient: containing calcium, vitamin K, A and C, potassium and manganese.
- Weight loss: rhubarb is very low in calories and the high fiber content helps you feel full faster
- Heart Diseases: the high fiber content is extremely useful in lowering cholesterol levels
Cooking with Herbs: Stinging Nettle Soup
Recipe
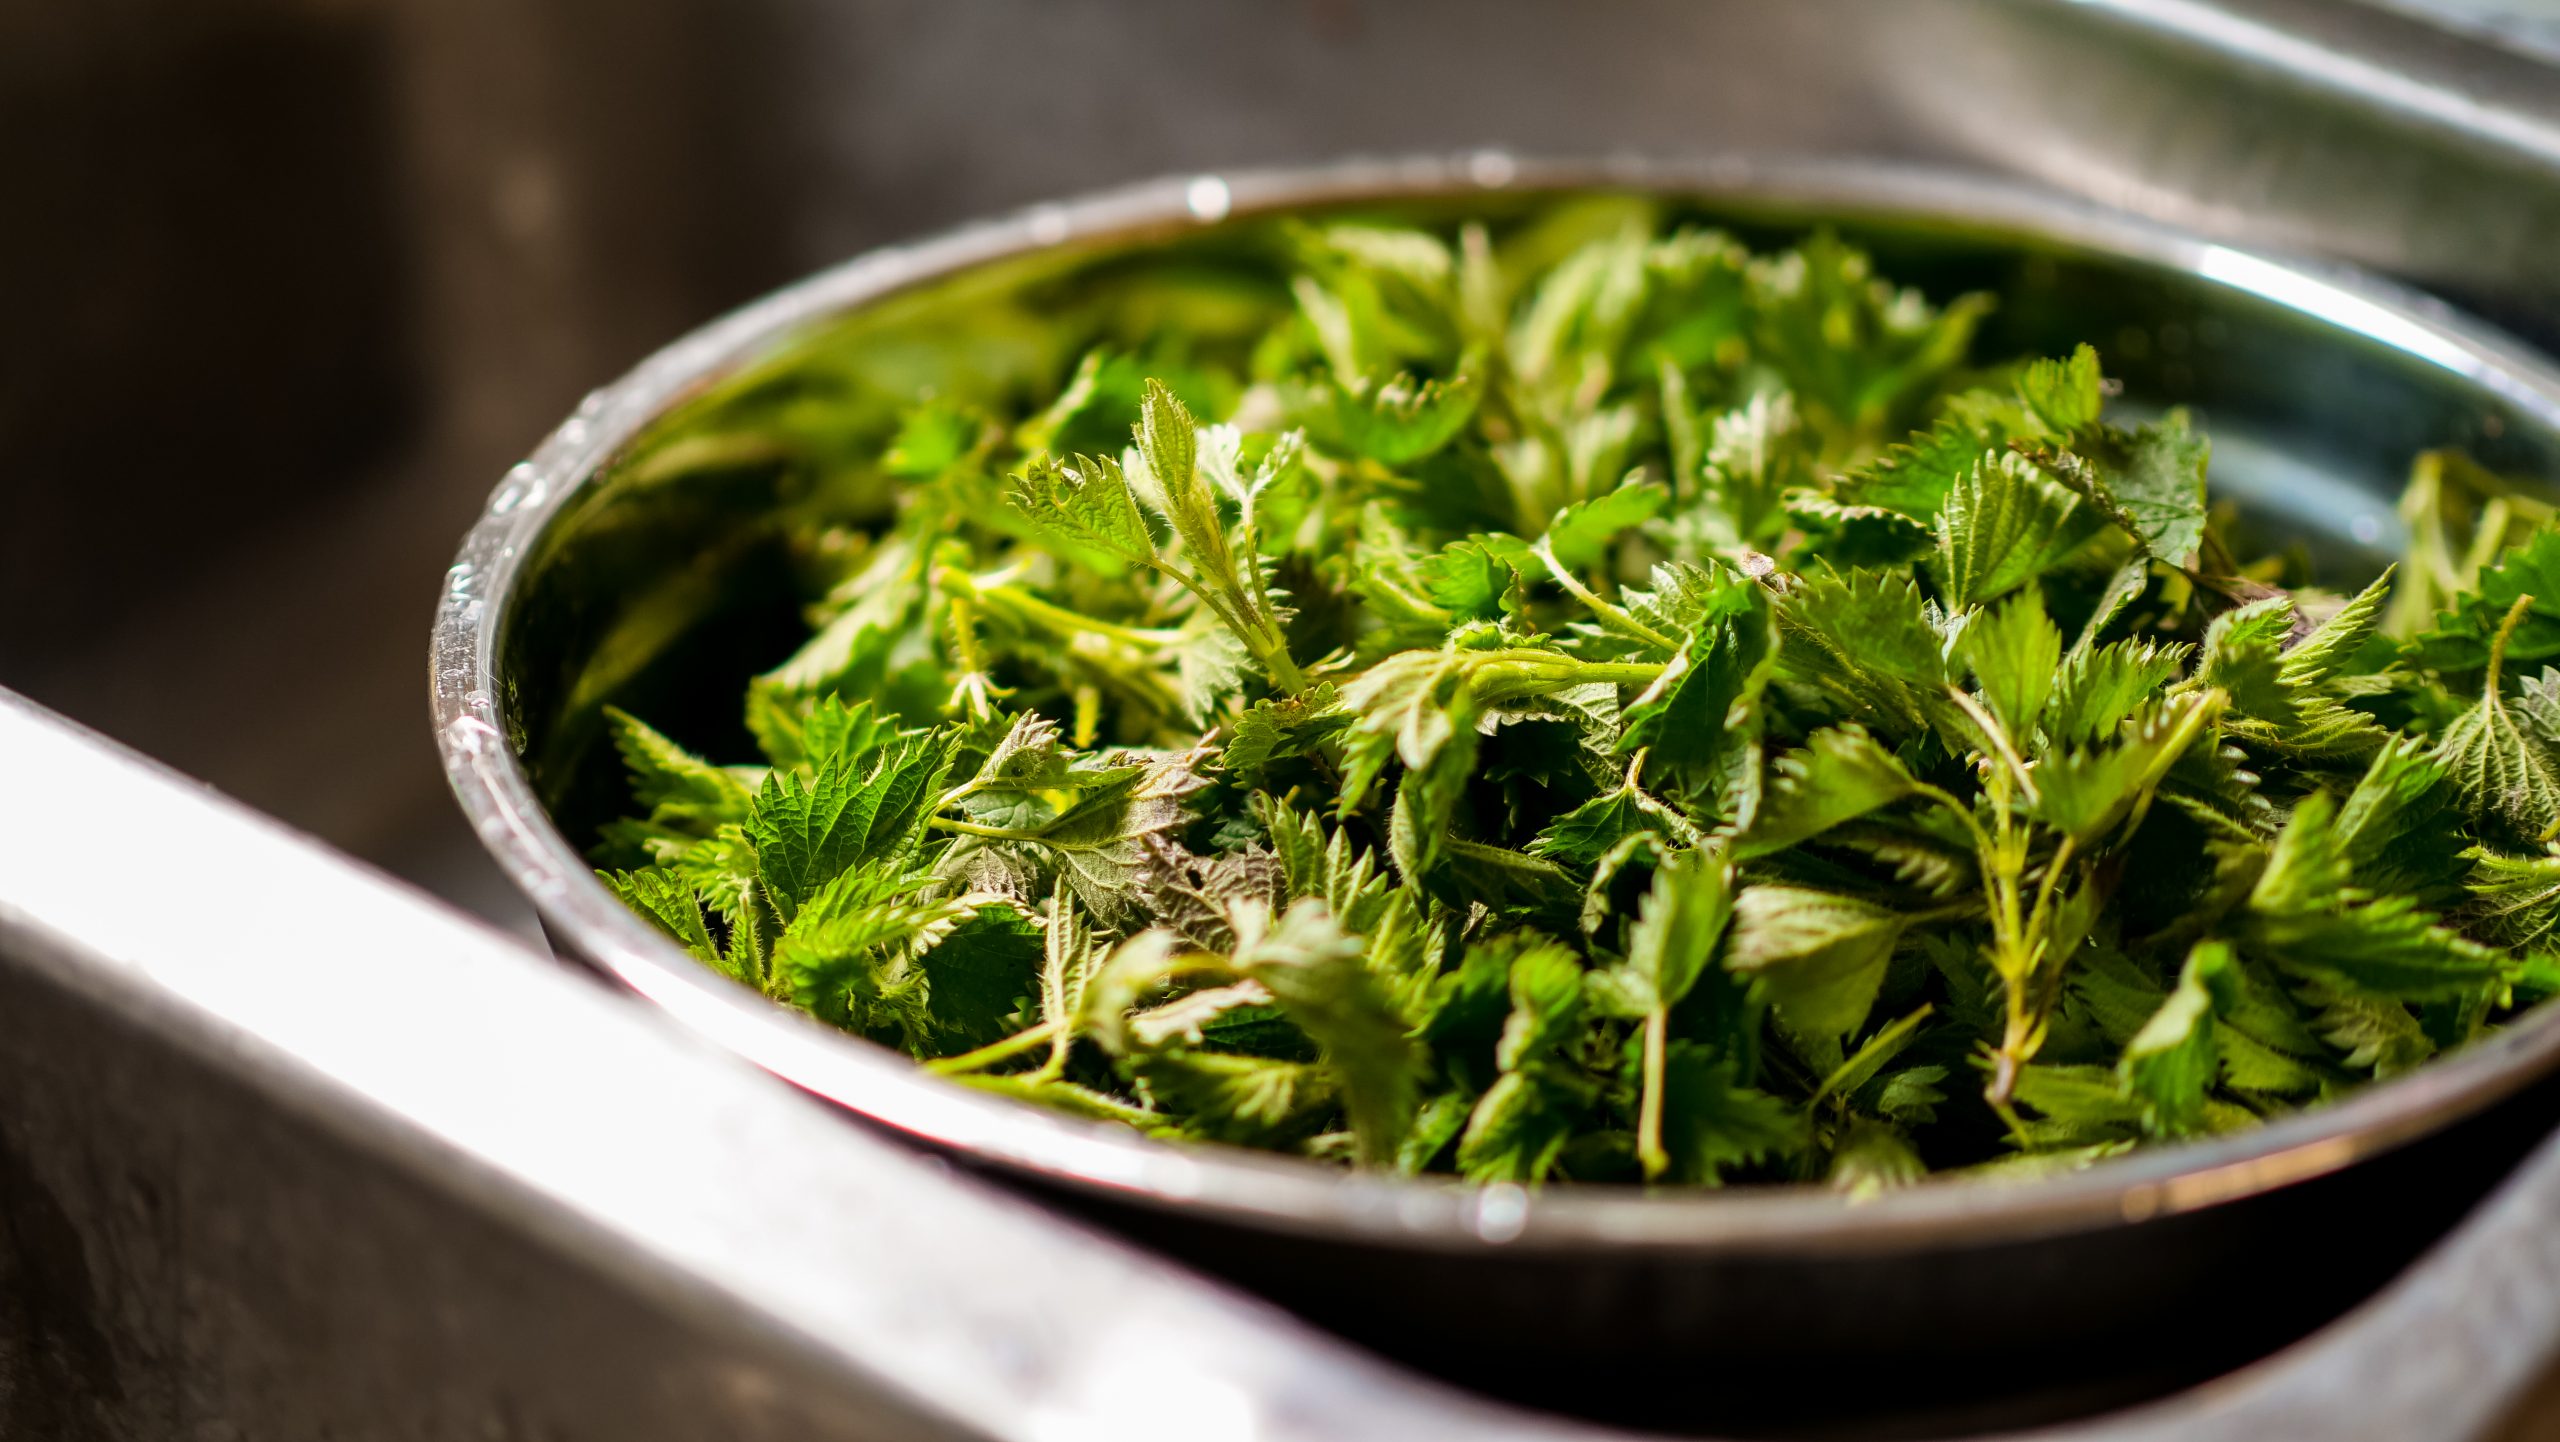
- 1 lb/450 g or more of Stinging Nettles (young tender shoots preferably harvested in early spring)
- 1 tsp salt
- 1 tbsp olive oil
- 1 onion
- 1/2 cup uncooked basmati rice
- 8 cups vegetable broth stock (or use 2 organic vegetable bouillon cubes)
- More salt and pepper to taste
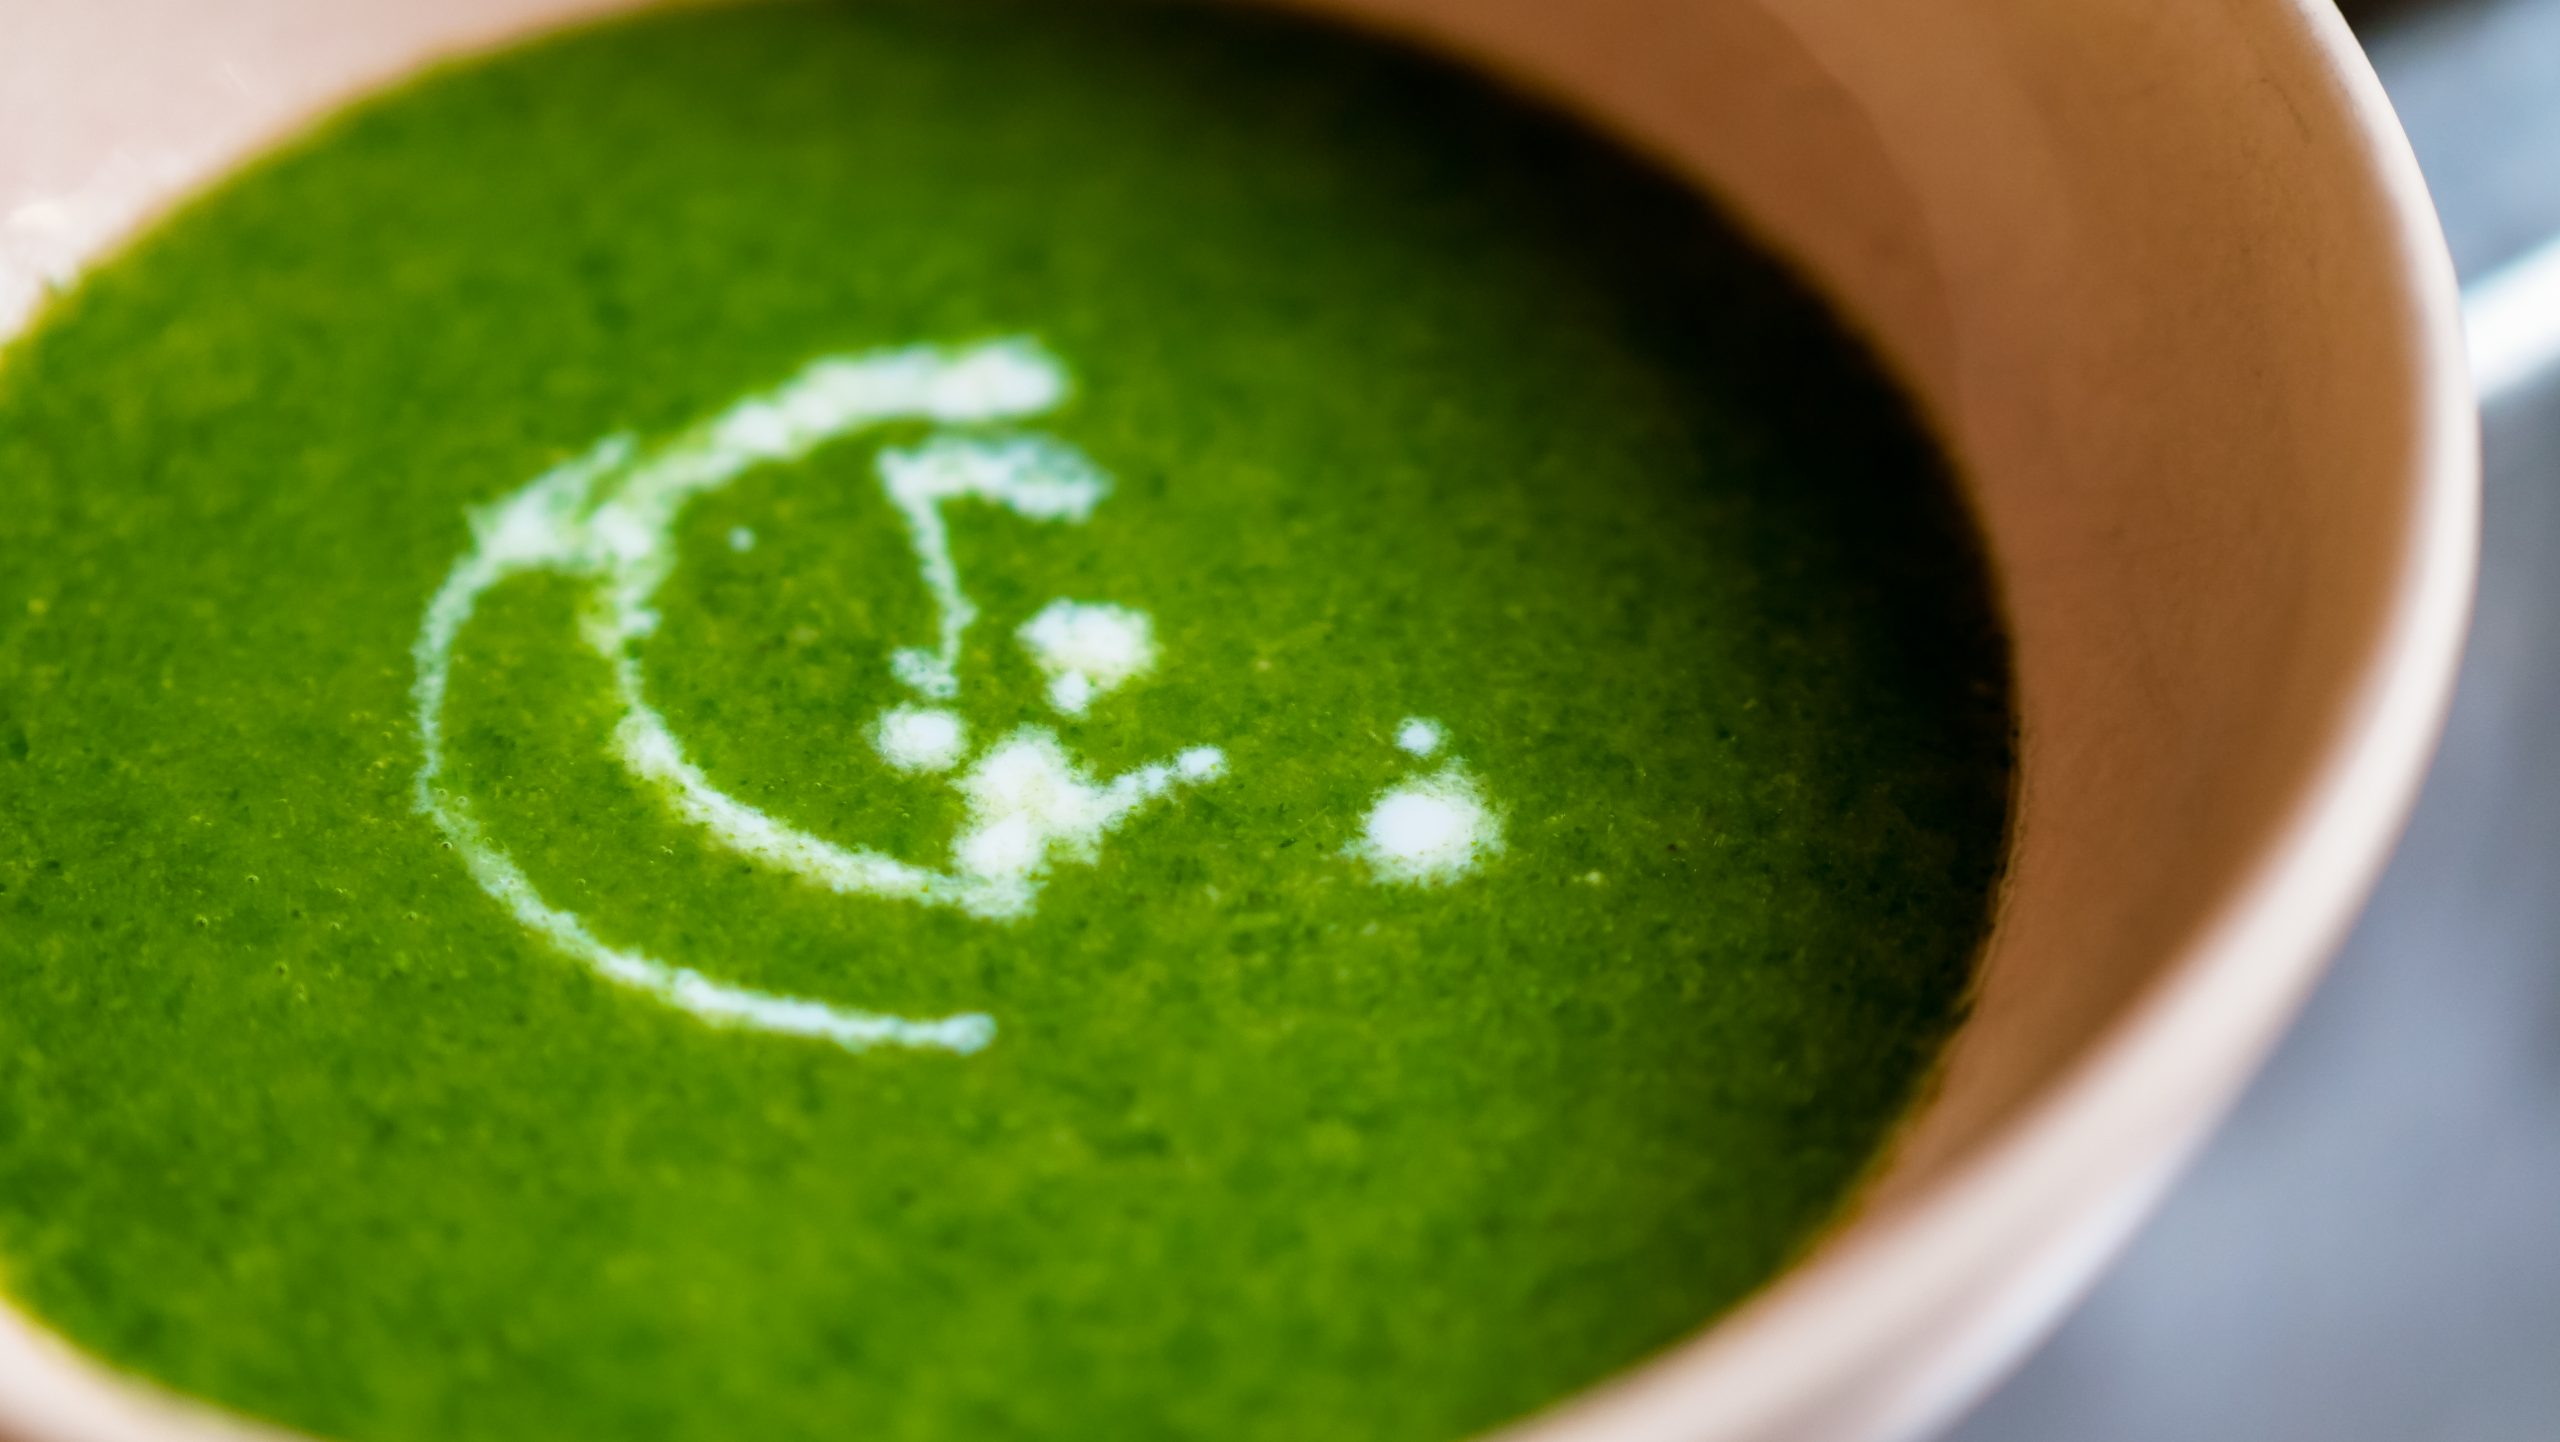
- Garnish: cashew nut cream or regular cream (optional)
Method
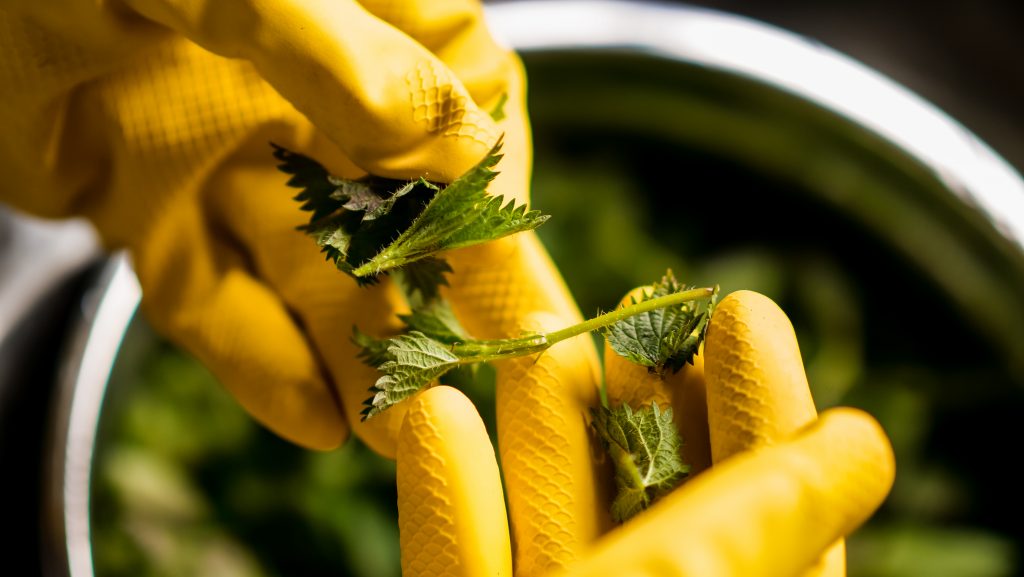
1) Wearing latex/rubber gloves sort out the harvested stinging nettles and remove any thick stems.
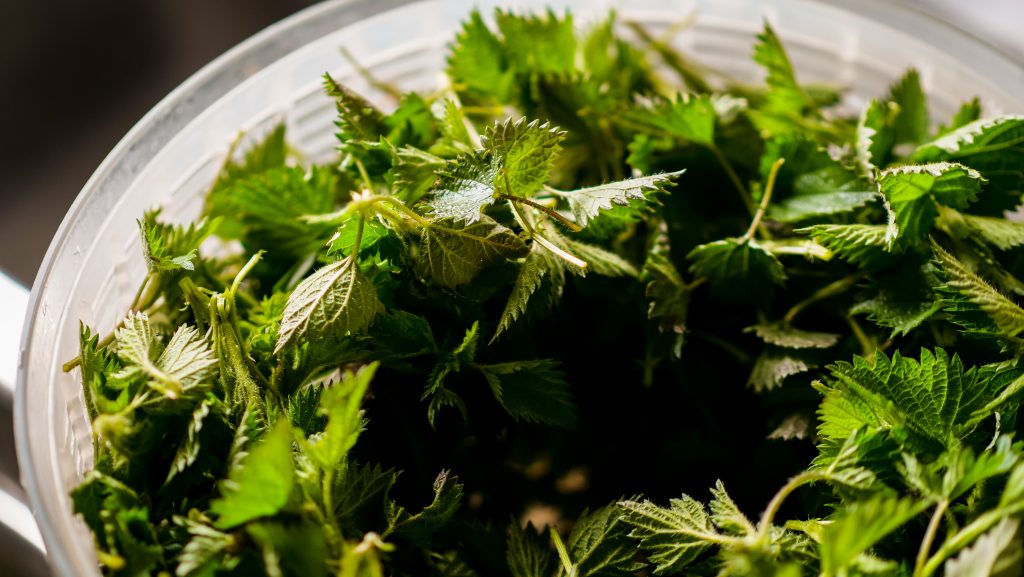
2) Wash the stinging nettles and drain.
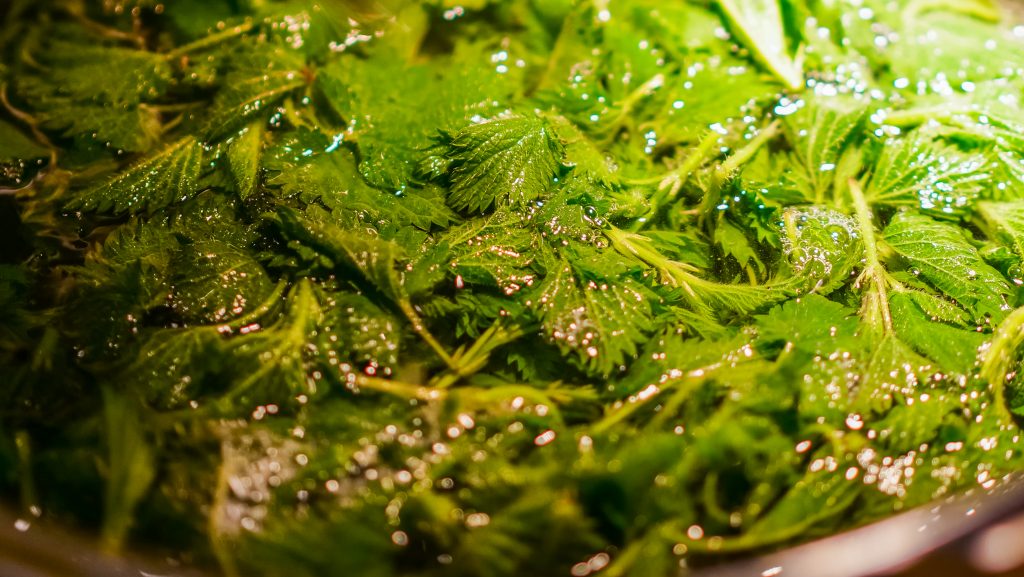
3) Bring a large pot of water to a boil with 1 tsp of salt added. Blanch the stinging nettles in the boiling water for about 2 minutes. This will remove the sting so you can chop it.
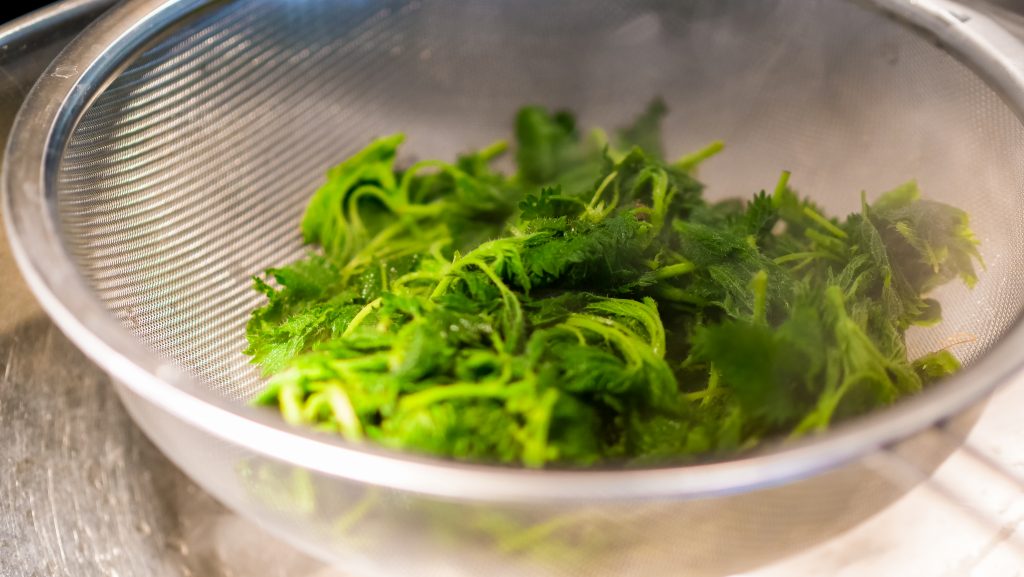
Use a large spoon strainer to remove nettles from the pot. Put them in a colander and run cold water over it to cool it down.
Do not drain the nettle water, reserve it to make your vegetable stock broth.
4) Fry a chopped onion in the pot. Add the reserved nettle water along with two stock cubes.
Bring to a boil and add the rinsed basmati rice. Always rinse your basmati rice a few times with water until the water is clear.
Add rice to the pot and simmer for 8-10 minutes.
5) Now add the chopped stinging nettles. Simmer for about 5 minutes, do not overcook this nutritious pot herb. Add ground black pepper to taste. You may not need to add more salt.
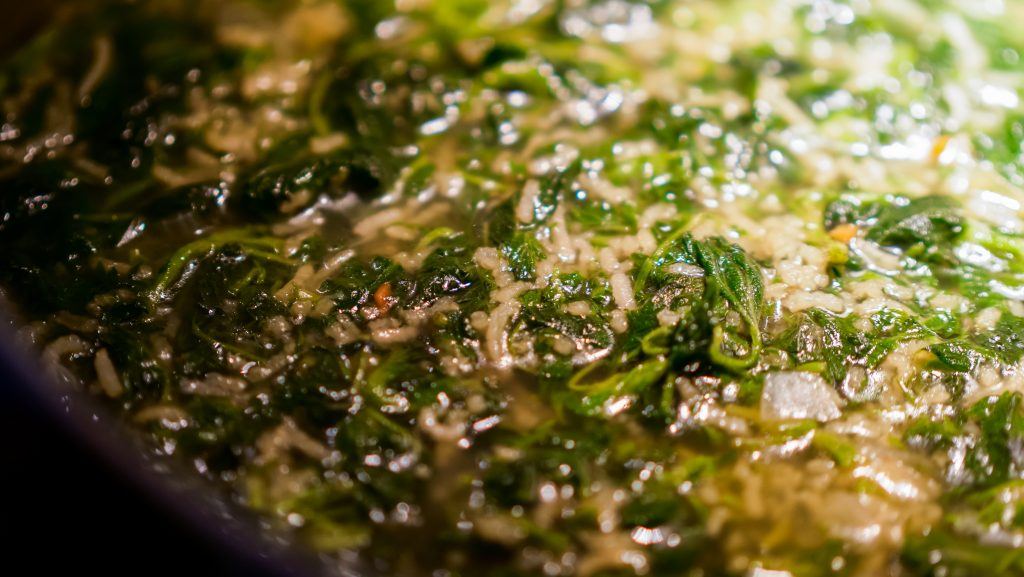
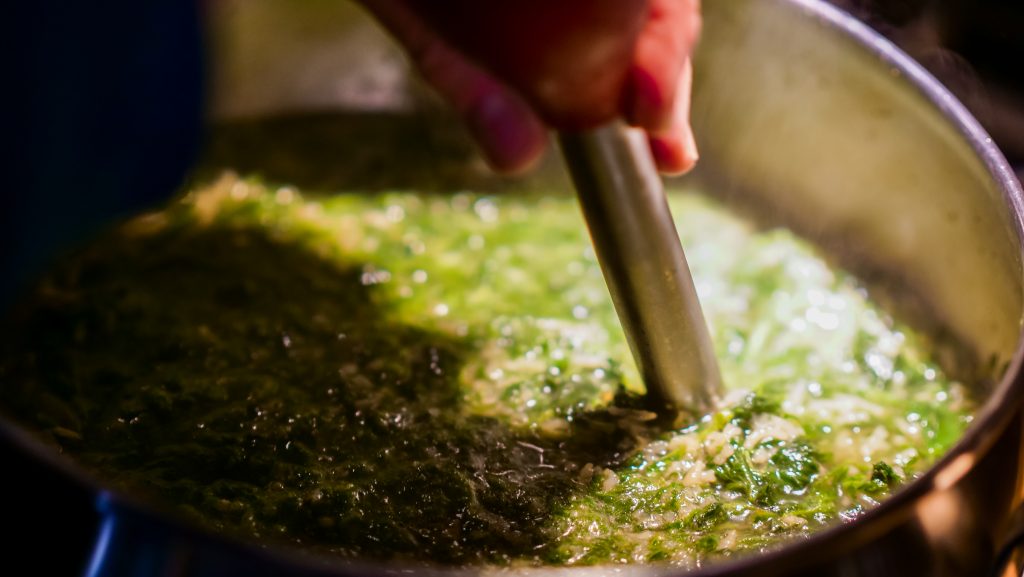
6) Turn off the heat. Using an immersion blender puree the soup. You can enjoy this soup with or without cream served in the bowl.
Enjoy!
– Recipe contributed by Karin M
Did You Know?
- The botanical name for Stinging Nettle is Urtica Diocia
- Nettles are a Nutritive (a class of plants that are rich in vitamins and minerals; a source of easily assimilated nutrients. Ideal for those suffering with anemia.)
- Cooked nettles are both salty and sweet. The stronger, salty flavor indicates the high level of minerals and the sweet flavor encompasses elements that build up tissues and strengthen the body.
Preparing for Allergy Season
Spring is Almost Here!
Now is the perfect time to get a jump-start on your seasonal allergies! Stinging Nettle season will be soon upon us and we can make great use of this amazing herb and some honey from our own cupboards. First, some information on allergies, the herbs and nutritional supplements to aid allergy sufferers, tincture formulas and nettle soup recipes. For more information on Stinging Nettle, we’ll be posting a Materia medica soon!.
The Gut and Allergy Connection
All of the symptoms associated with allergies are signs of inflammation: redness, swelling, and itching. To help get rid of allergies, you have to get rid of inflammation and hyper-reactivity. The place to start is in your gut.
One of the major jobs of your digestive system is to provide an interface between the external world (foods, allergens, bacteria, etc.) and your blood stream. It does this in the stomach by using natural digestive acids to break down potentially allergenic proteins and in the intestines via a layer of barrier cells that prevents these proteins from getting into your blood stream. You also have a whole host of special bacteria in your gut, as well as immune cells, whose job it is to break down and get rid of proteins and other molecules that can cause you to get sensitized to them, leading to gut – and systemic – inflammation.
How to restore your gut:
- Clean Up Your Diet – Remember to eat lots of fresh vegetables, fruits, seed and nuts. Eliminate sugar, soda, preservatives, additives, dyes and other non-food junk, and drastically decrease dairy intake (yes, if you want your allergies to go away forever, you will have to do this – sorry). Part of cleaning up your diet is to eat foods with as few chemicals and additives as possible. I highly recommend buying organic or visiting your local farmers market.
- Heal Your Gut
- This is done with an Elimination Diet. An elimination diet is 2 weeks of eating a simple diet from which you have removed the most common food triggers including gluten, sugar, dairy, eggs, soy, coffee, soda, and artificial ingredients – as well as anything you typically crave (i.e., sugar, carbs, salty snacks).
- If you have constipation, you’ll want to deal with this now. Get plenty of fiber in your diet and drink ample water, too. Supplements such as flax seed, psyllium, and magnesium citrate are safe for most people to take daily. For kids, slippery elm, which tastes like maple syrup, may be used, 1-2 tsp daily in oatmeal or a smoothie. The goal is 1 healthy bowel movement every day.
- After 2 weeks on the Elimination Diet, start taking a good quality digestive enzyme product (you can give these to kids over 4 yrs, too). This is safe for pregnant and breastfeeding women, too.
- After another week, add in a good quality probiotic. Also safe for pregnant and breastfeeding women, and for kids.
- The following supplements can now be taken for about a month (up to 6 months) to help to heal the intestinal lining: Tumeric, Aloe Vera, and Marshmallow root; (these are fine for children) are some of the most effective herbs for healing the gut lining.
- Zinc: 5-10 mg/day for children 4-7 years, 10-20 mg/day for children to age 12, 25-40 mg/day for older children and adults
- An antioxidant supplement containing vitamins A and carotenoids, C, E, and selenium. These are often found in a multivitamin. Pregnant women should get these from their prenatal vitamin only.
- Fish oil: Personally, I have taken daily for years, love it! For kids you can put the oil into smoothies. Fish oil is important for general health in pregnancy and breastfeeding, too.
- Please visit your doctor when necessary!
Detox The Liver
The liver removes many of the body’s major toxins and affects allergies. Martin Healy says that key ways to boost your liver function include cutting out alcohol, smoking, caffeine and embarking on a detox program.
A glass of water containing freshly squeezed lemon each morning will help. Antioxidants and vitamins found in fresh fruits and vegetables will reduce liver inflammation and boost immune function, while foods like brussels sprouts will increase the activity of important liver enzymes.
Herbs and Nutritional Supplements for Seasonal Allergies
These herbs and nutritional supplements are best taken on a daily basis. Taking them before allergy season even starts, can prevent symptoms altogether. They can also be used as needed.
- Stinging Nettle: Nettles are used as spring tonics and a general detoxifying remedy. In some cases of rheumatism and arthritis, nettles can be astoundingly successful. In childhood eczema nettles are a specific remedy and are beneficial in all the varieties of this condition especially in nervous eczema.
Nettles in high doses can have amazing results for allergy sufferers. It has been used for centuries to treat allergy symptoms – particularly hay fever – which is the most common allergy problem. It contains biologically active compounds that reduce inflammation. Dr. Andrew Wiel M.D. author of Natural Health/Natural Medicine says he knows of nothing more effective than nettle for allergy relief. This statement is backed up by studies at the National College of Naturopathic Medicine in Portland, Oregon. Decongestants, antihistamines, allergy shots and even prescription medications such as Allegra and Claritin treat only the symptoms of allergies and tend to lose effectiveness over a period of time. They can also cause drowsiness, dry sinuses, insomnia and high blood pressure. Nettle has none of these side effects. It can be used on a regular basis and has an impressive number of other benefits most notably as a treatment for prostate enlargement. Nettle is easily available in tea and tincture form, and also can be eaten like spinach in the spring, made into soups and smoothies. Nettles are prized for being highly nutritional.
- Raw Local Honey: Raw honey is great, but raw local honey is even better! Raw local honey contains pollen that is specific to your area and therefore can really help those local seasonal allergies. Taking a spoonful of raw honey once or twice a day is a great help. It is also advised to begin taking local honey a few months prior to the allergy season; this gets the pollen introduced into the body and gradually builds up the body’s tolerance to seasonal allergies. Honey is not recommended for babies under 12 months, due to infant botulism.
- Vitamin C: To assist with a malfunctioning immune system try lemon water and orange water (not juice – no sugar), cultured vegetables and strawberries.
- Quercetin: 500 mg daily (half that for kids). Quercetin is a plant pigment found in many common herbs and foods, and a very reliable anti-inflammatory nutritional supplement. It helps with gut repair, boosts the immunity in your mucus membranes reducing reactivity to seasonal allergens, and also helps reduce food allergies. There is conflicting data on whether it is safe in pregnancy, therefore I would not recommend it for those who are pregnant.
- Zinc: Take an age appropriate dose daily.
- Please visit your doctor when necessary!
Traditional Allergy Tincture Blend
- Nettle (Urtica dioica, spring tops) 0.30 ml
- Astragalus (Astragalus membranaceus, root) 0.25 ml
- Reishi (Ganoderma lucidum, thallus) 0.14 ml
- Schisandra (Schisandra chinensis, fruit) 0.14 ml
- Southern Prickly Ash (Zanthoxylum clava-herculis, bark) 0.07 ml
Keep an eye out for another blog full of Stinging Nettle Recipes soon!

